I’m working on Eduard’s 1/48 Spitfire Mk. VIII, this one from the “Aussie Eight” dual boxing set. It’s a fabulous kit, with two of Eduard’s excellent Mk. VIII kits, resin wheels, photoetch, and a massive decal sheet with 30+ options on it. Get this set, and some more of the Weekend Edition Mk. VIIIs, and you can just about have a wing of Spitfires.
I really enjoy this kit. It’s actually my 7th Eduard Spitfire, and my 84th Spitfire model overall. In a brief review I’d published last year, I’d listed Eduard’s 1/48 Spitfire as the one to build if you wanted to build just one kit of Mr. Mitchell’s wonder. Nothing to date has changed my opinion on that.
Now, it’s not perfect. No kit is. There are a few fiddly bits that can be a bit perplexing at first. As I go along through this build, I’ll make sure to note those. Still, there is so much right, and the fit and detail is so good, the complaints I do raise are very minor in the overall scheme of things.
While the seat that comes in the kit is very nice, I am not a fan of photoetch belts. They may be more “scale accurate” in terms of thickness, but that very fact makes them look a bit lifeless to my eye. I work on the theory that people expect to see depth, and contrast. And while that may detract from scale thickness, the end result, in my opinion, is worth it.
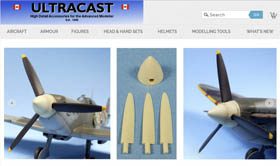
Check out Ultracast’s NEW website! They now feature a full blown shopping cart function, with a great search feature. You can make your purchases quickly, easily, and securely. And their resin products are the best stuff around. It’s what I use on every Spitfire I build!
As for all my Spitfire builds, I used a resin replacement from Ultracast. Their seats are the best I’ve found anywhere, and they look outstanding. The kit seat slots over part of the “floor” of the cockpit, so I simply clipped that part down to make room for the seat pan.
The seat was painted in Tamiya XF-9 Hull Red, and the the seat pad in Vallejo’s Black Gray. Belts were picked out in Vallejo Iraqi Sand, and the buckles given a touch of Citadel’s Leadbelcher. Drybrushing (Vallejo Sky Gray), and enamel panel line washes (Ammo’s Deep Brown Panel Line Wash) brought out the details.
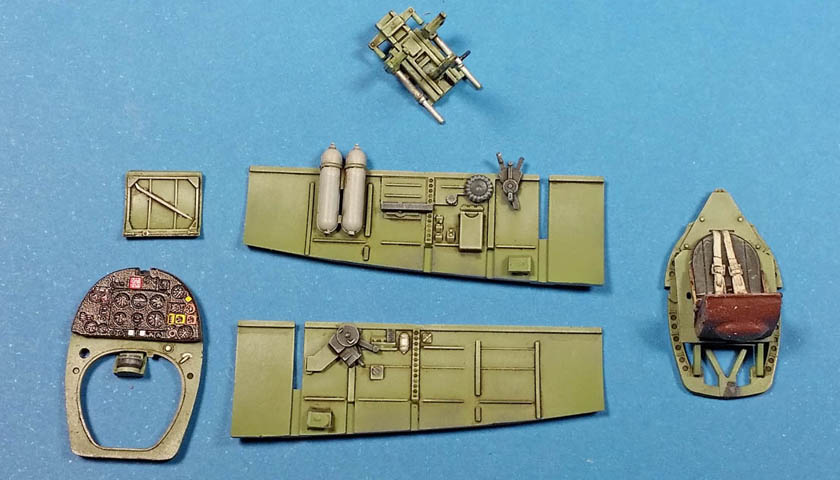
For the main interior color, I used Tamiya XF-71 Cockpit Green. While you can argue that it’s not an exact match, I’m more of a “that’s close enough” sort of guy, so I use it right out of the bottle. Thinned with a bit of Mr. Color Leveling Thinner, it goes down very smooth, and has excellent adherence. Various items were picked out with Leadbelcher, Black Gray and Sky Gray, and the same process of highlights and shading was applied as had been done to the seat. A touch of edge highlighting was done here and there with a tint of the base cockpit color.
For the instrument panel, you have two options- the kit’s plastic part, or the photoetch parts. My preference is to always use plastic over photoetch, every time. However, one of the complaints I do have with this kit can be lodged against the injection molded instrument panel.
To be very blunt- it stinks. For all the fine detail Eduard included in the rest of this kit, the plastic IP looks as if it were phoned in. The instrument dials edges are thick, and void of detail. Even with the best painting, and drybrushing, it still looks like Minion goggles on a sheet of plastic card.
The pre-printed photoetch part is gorgeous. However, it looks so obviously printed, it stands out too much in my estimation. The rest of the cockpit is painted by hand, yet there sits this perfect instrument panel. To me, it just looks too contrived. Still- I had to make a choice, as I wanted to keep this build simple, with minimal aftermarket parts. So I opted for the photoetch “sandwich”, consisting of three parts, stacked on top of one another.
It is what it is, I suppose. I’ve gone both directions in previous builds of Eduard’s Spits, and found neither to be fully satisfying.
(I’m a firm believer that photetch, in general, is the poorest choice to tackle a detail problem. But that’s just me… 😉 )
With all painted and weathered and flatcoated, the next step is to assemble it all together. It is a bit fiddly in this regard. One area that I had found does help is to fully assemble the rudder pedals and their associated parts before painting. The instructions would have you do this as part of the step of building the cockpit after painting, but in my experience, this was just too fiddly and caused no end of paratrooper words to emit forth. By assembling it ahead of time, it can be mounted against one sidewall, the IP then slipped over and around it, and while still a bit fiddly, it’s far less so than the kit method. Plus, by assembling it ahead of time, you get a good glue-on-plastic join.
With the IP, pedals, and seat mount assembled along one wall, I give it a few minutes to firm up just a bit before applying the other side wall. This allows the parts already mounted to be somewhat firmly in place, yet still adjustable. After applying the second sidewall, I make adjustments to alignment as necessary, and then dry fit the cockpit between the fuselage halves. This is a crucial step, because if the cockpit is not aligned well, it won’t fit neatly inside the fuselage, and the halves won’t close up perfectly. So by test fitting everything quickly, adjustments can be made. You’ll know when you have it right, because the fuselage will close up with no gaps. And trust me- having now done this seven times, if it does not fit correctly, it’s most likely you, not the kit. (Just sayin… 😉 )
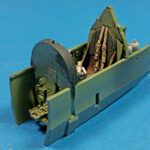
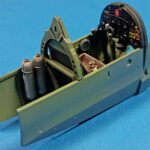
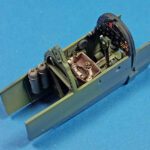
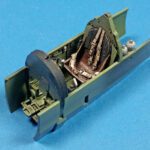
Once it’s all assembled, Eduard’s Spitfire cockpit looks great. Out of the box, it’s the best cockpit of the type in this scale.
Next up will be closing the cockpit up into the fuselage, and getting the airframe sorted out for priming and painting.
If you have a desire to build a Spitfire in 1/48 scale, be sure and give Eduard’s offerings a serious look!

Leave a Reply