Building these Warhammer 40K kits is a bit like eating potato chips. It’s virtually impossible to stop at one.
Small wonder, though, as there is a lot to like about them. The details are sharp and crisp and take to painting readily. The parts count is not excessive, and there’s really nothing fiddly about them. If you’ve building them purely for the enjoyment of building, there’s no “correct” way to finish it really- it’s all made up anyway. And even if you do want to stick to the game lore, there is such a wide variety of colorings and finishes that you can surely find something that suits your taste.
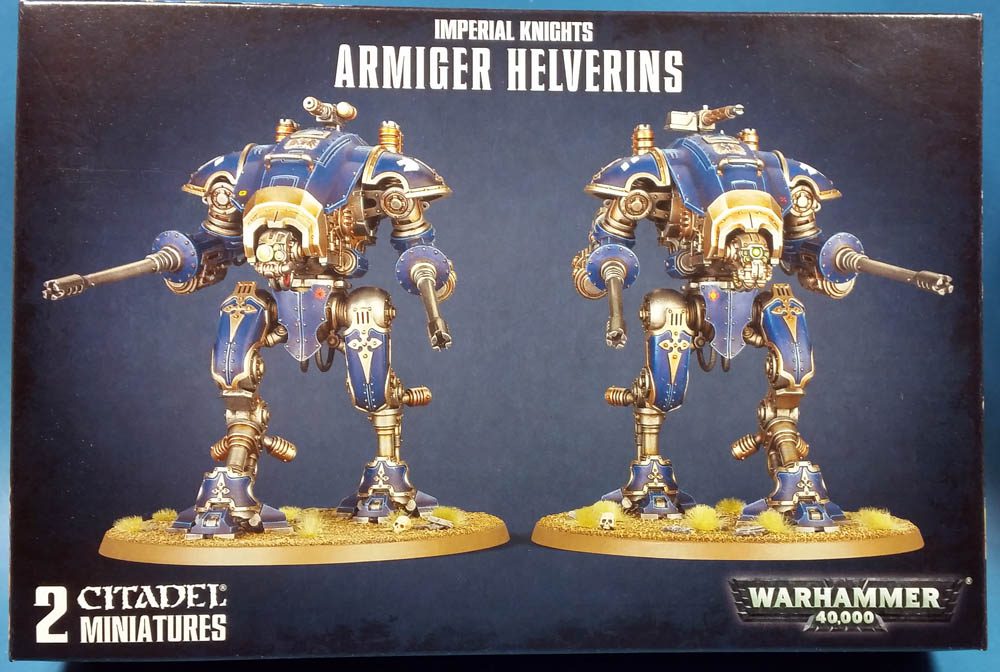
The latest Citadel kit to hit my workbench is the recently released Armiger Helverin set. It’s a two kit set of what I think of as “mini-Titans”. They have a similar shape and look, but (most important for me) a far more affordable price. Plus, the fact that the box contains two kits means I have the opportunity to foul one up in order to get the next one right. 🙂
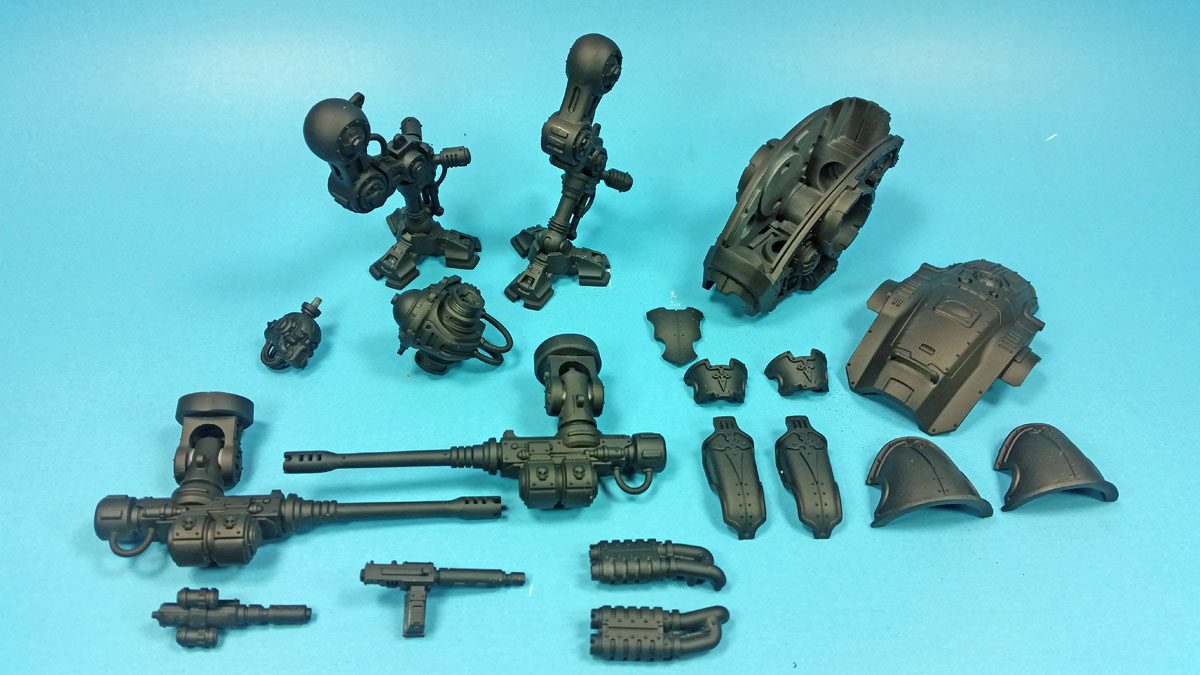
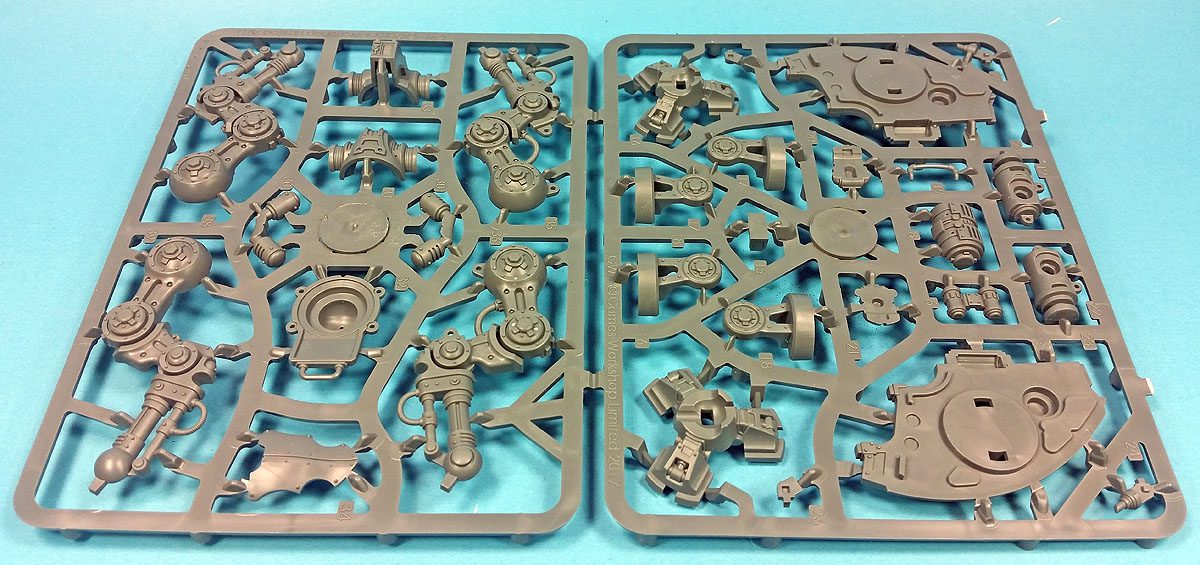
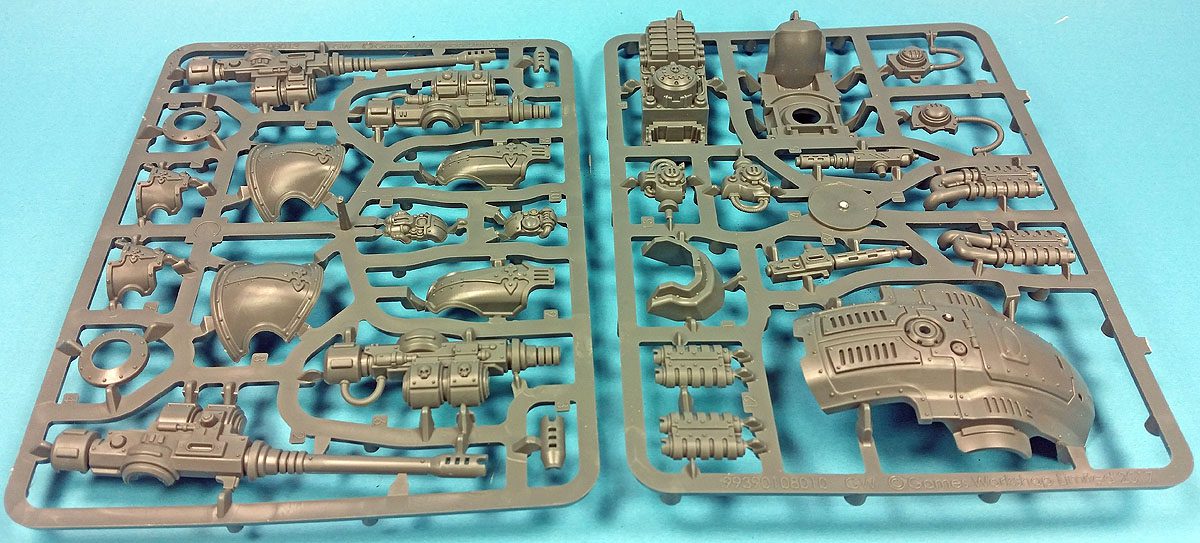
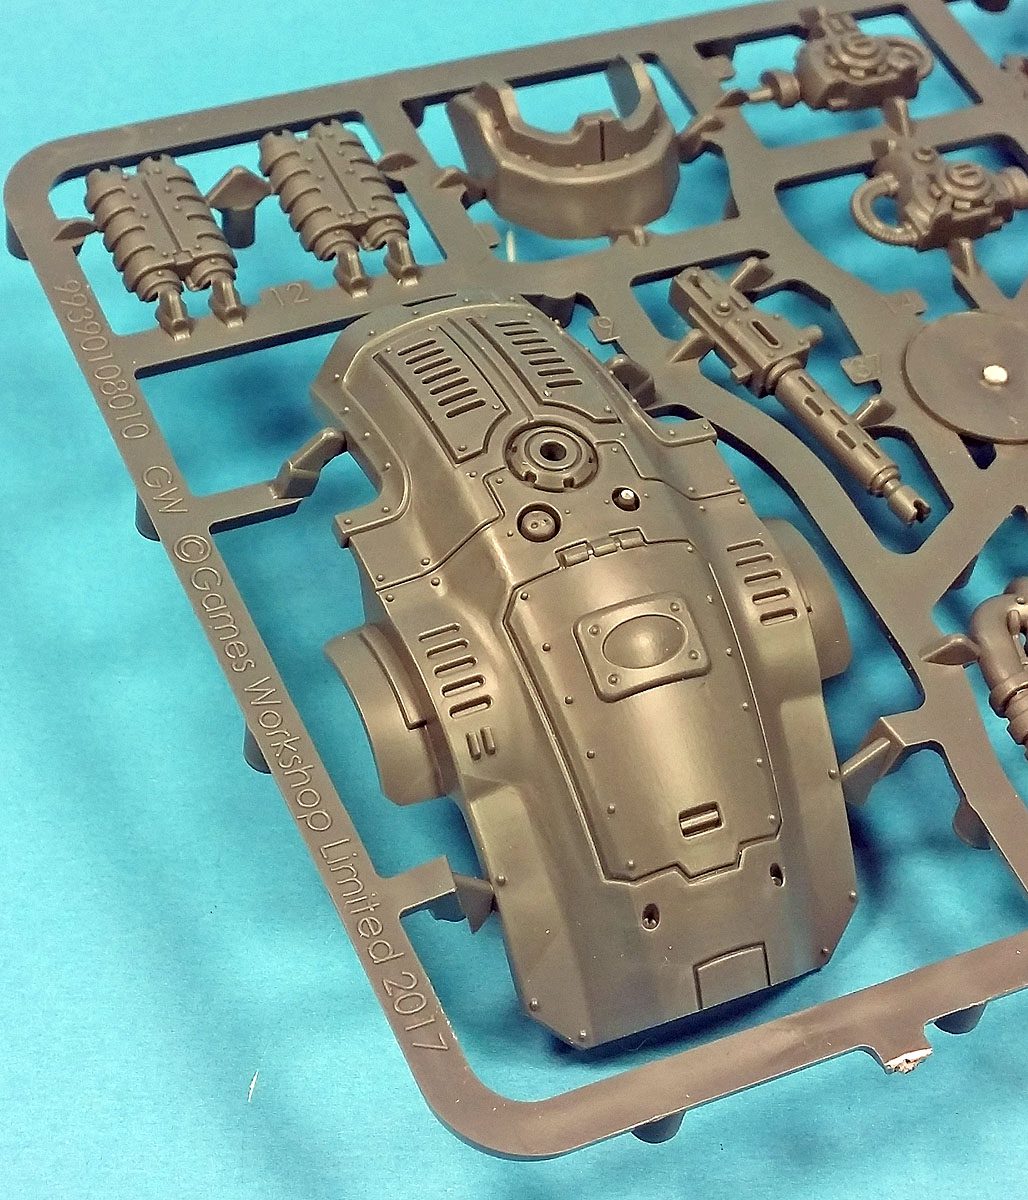
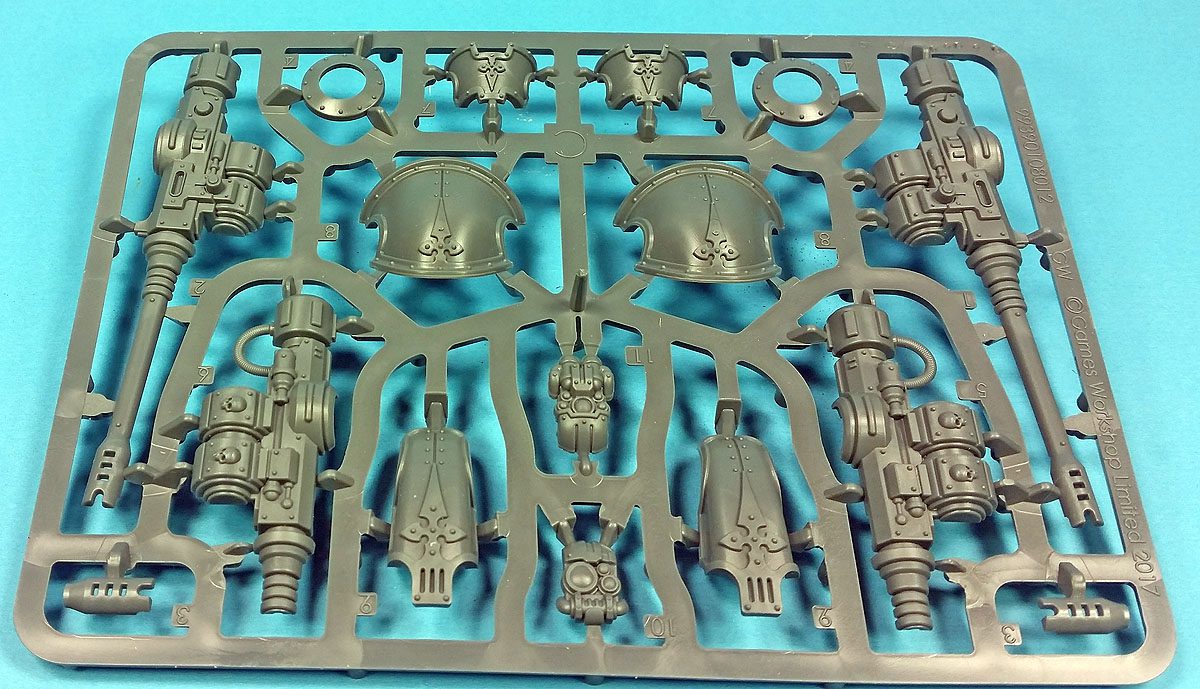
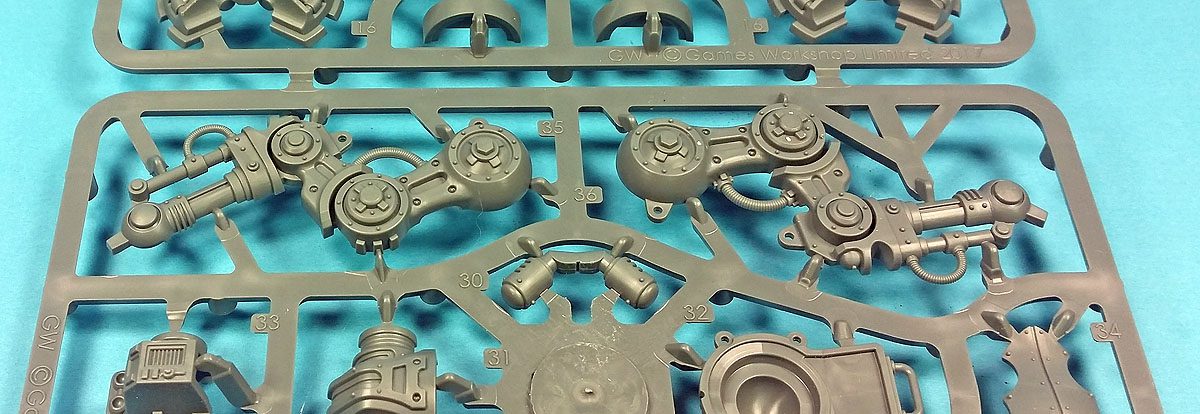
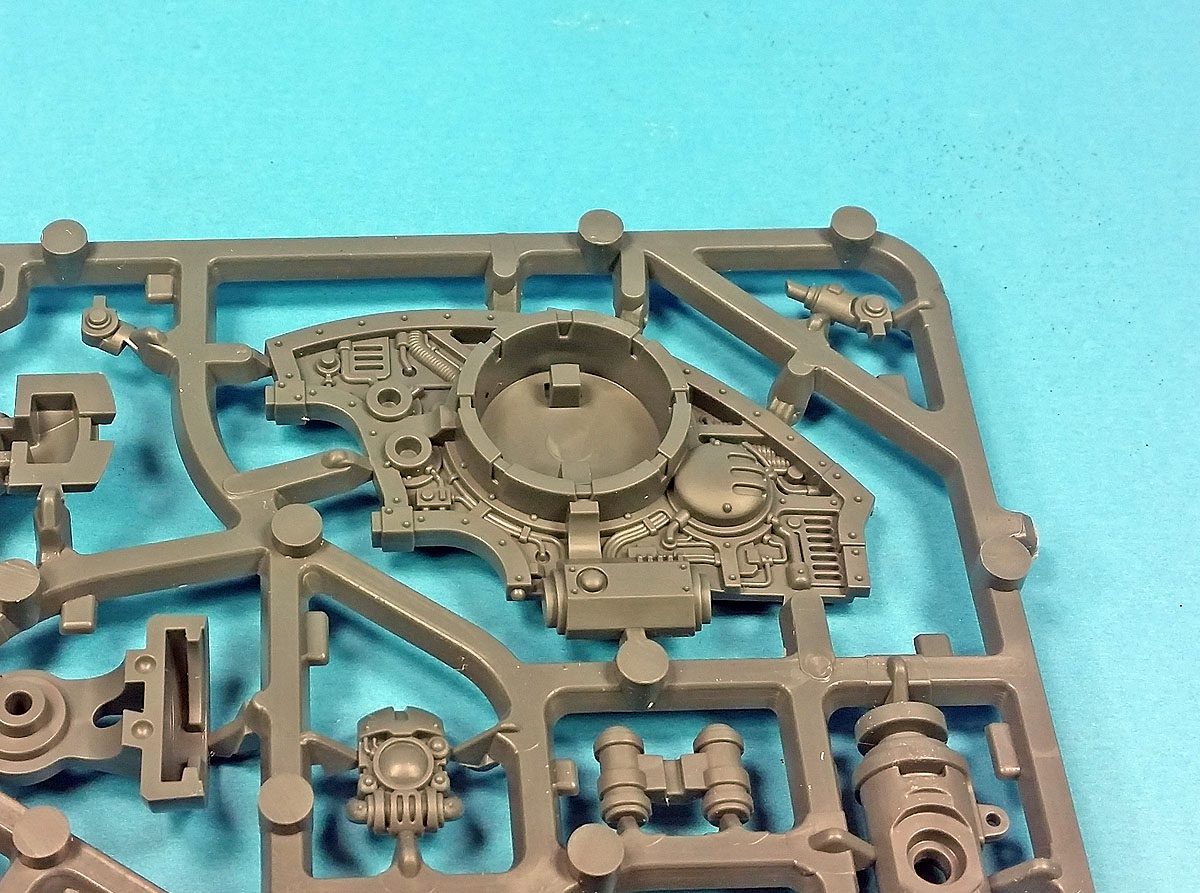
If you’re familiar with Citadel kits, you know what to expect. The castings are very sharp and detailed, with everything about it looking appropriately “busy”. Each individual Helverin consists of four sprues. Though I have not seen the cousin on the Helverin, the Armiger Warglaive (also recently released) in person, I’d guess the two sets share most of the same parts, with only the sprue containing the primary armaments looking to be different. (Which means you can’t build the Warglaive from the Helverin boxing…)
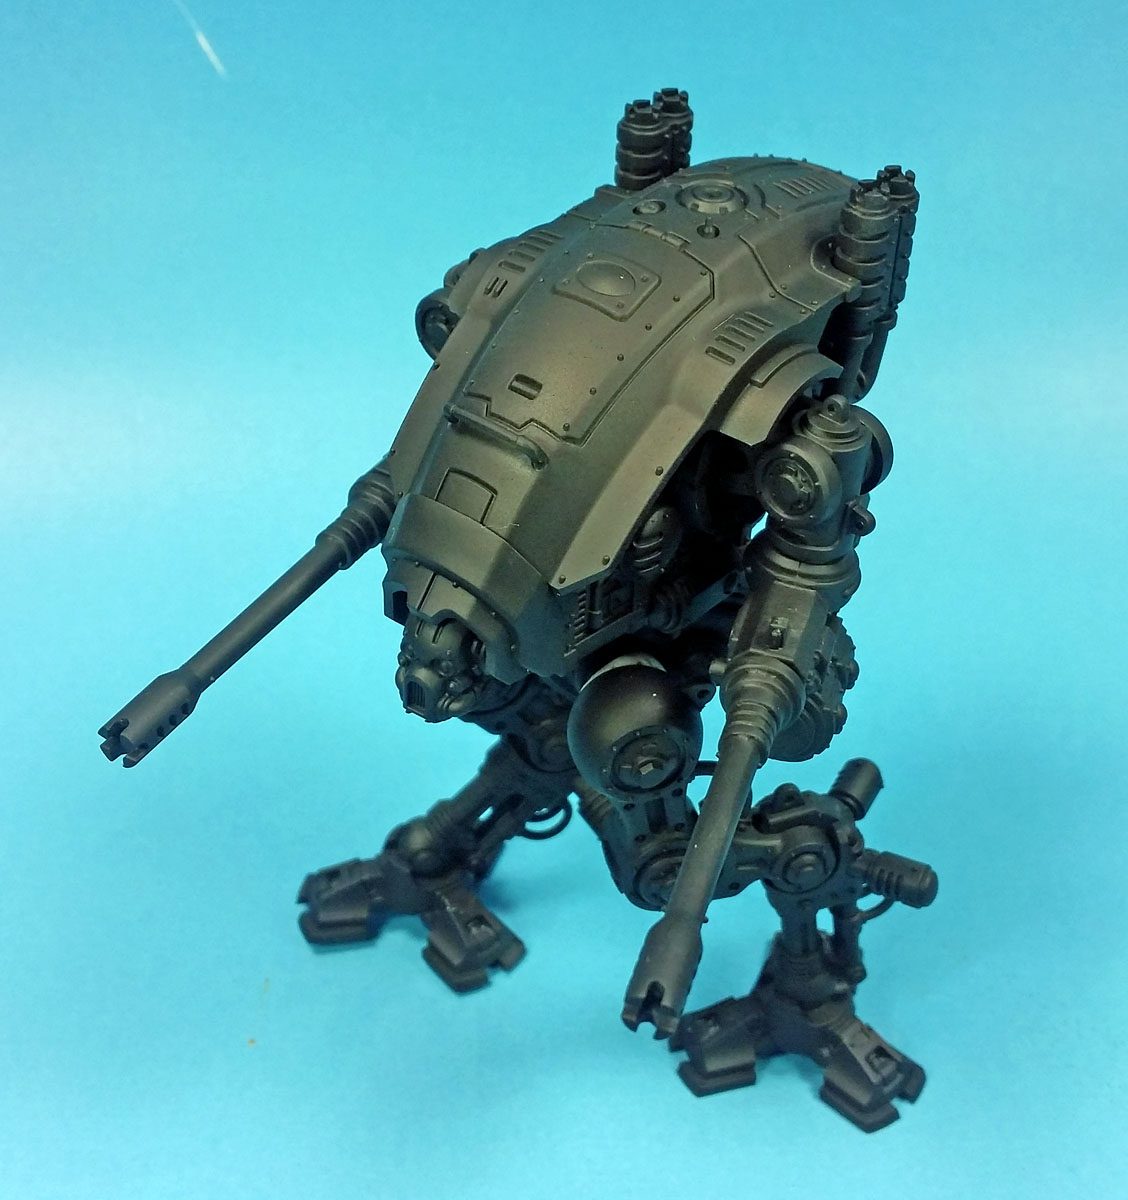
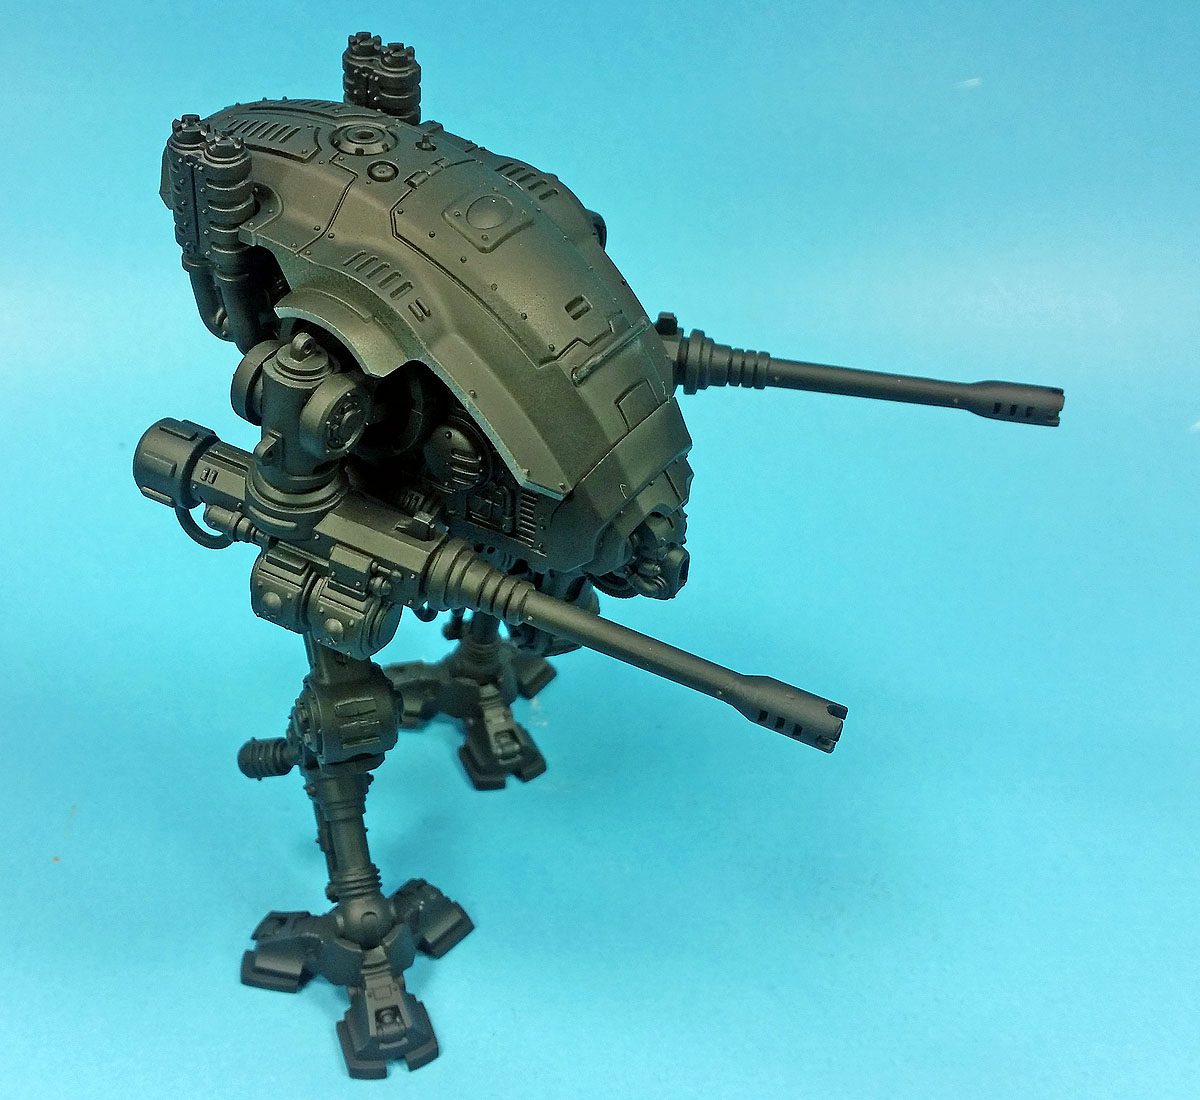
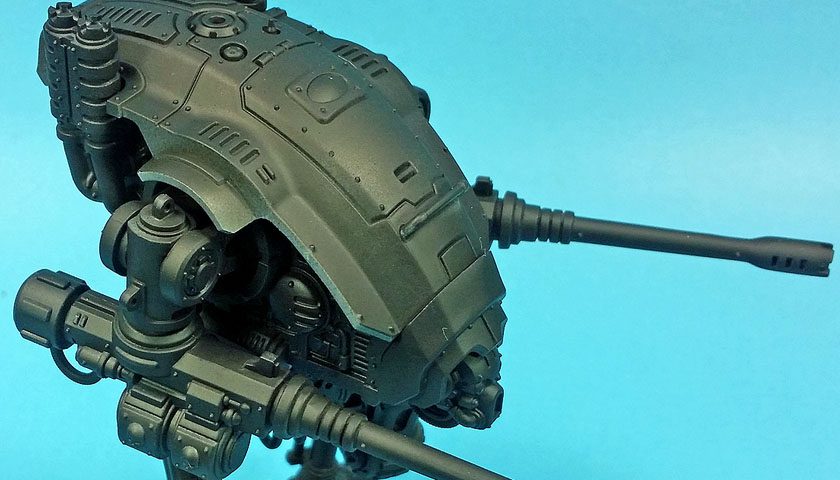
I wanted to build the kit up to a point that it could be primed. However, my past experience on other Warhammer 40K kits had shown me that it’s best to build it up to the point that it won’t interfere with painting. While Games Workshop’s Warhammer TV video build of the kit shows the frame fully built, with only the armor set aside, I decided to leave a few more parts off. Test fitting showed this should work just fine, thus allowing easier access for detailing and weathering.
Here are a few observations that I hope will be helpful:
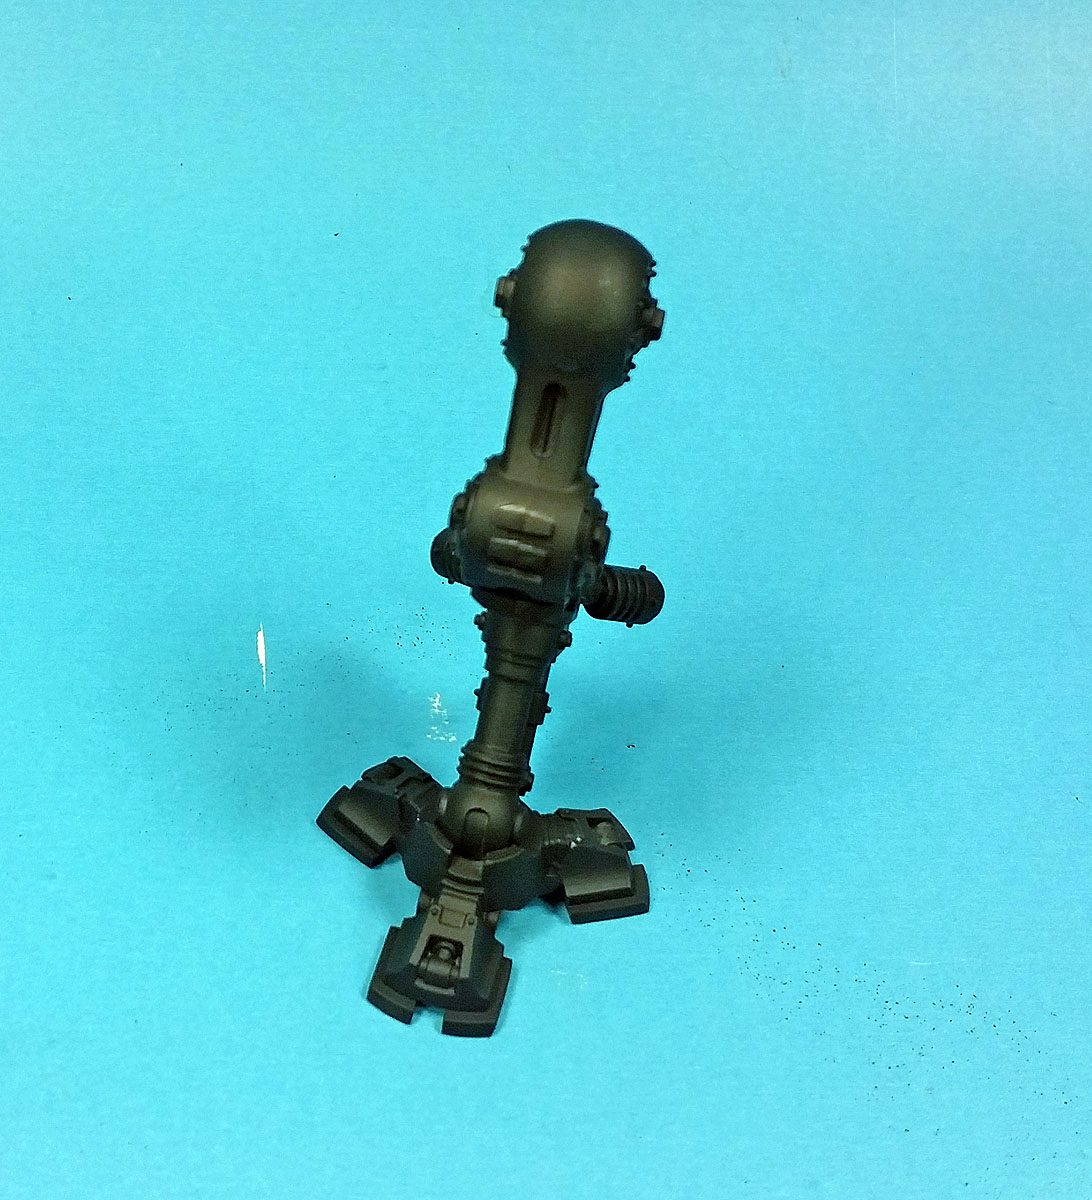
- The legs assemble together nicely, and most seam lines will be covered either by armor, or other external “plumbing”. However, the top ball joint of each leg can benefit from an application of filler – I used Mr. Surfacer 500 – to make sure the seam line is fully obliterated. While the fit of the parts is very good, the seam will show unless otherwise treated.
- The exhaust stacks needed a similar treatment, again just to mask all traces of the seam line
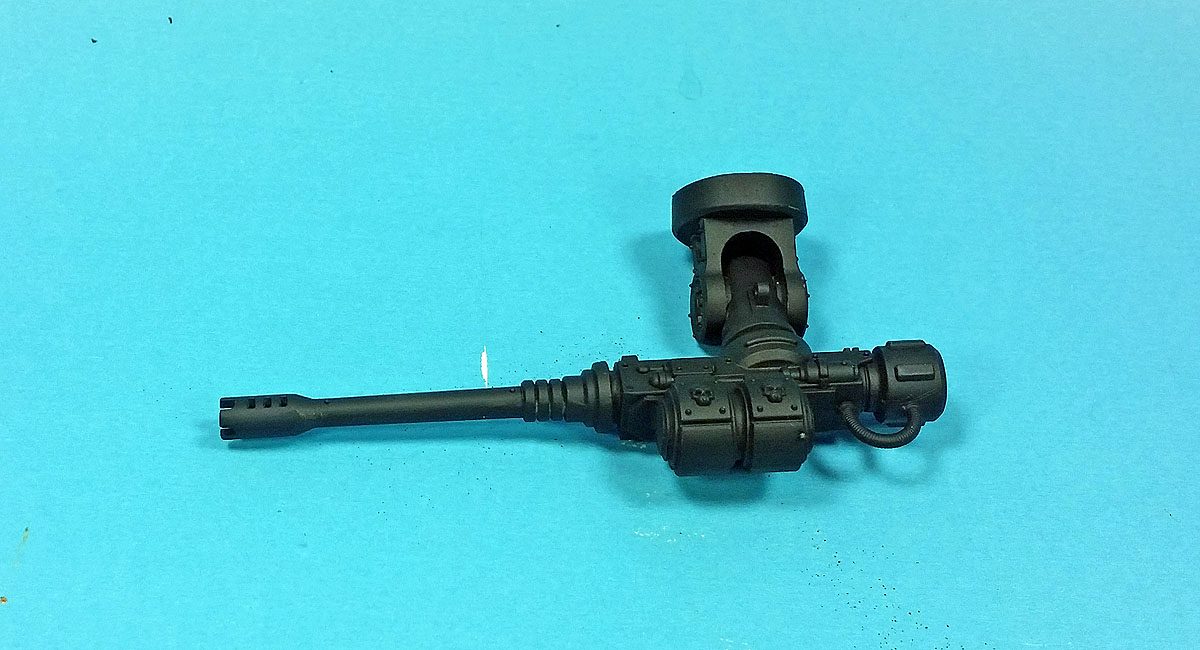
- The two large guns on either “arm” also have a seam line that must be accounted for, particularly on the ammo “drums” hanging underneath.
- As previously mentioned, leaving off the main armor pieces will make painting both them and the inner frame much easier. This method benefits from the excellent fit of the parts, especially the large upper armor carapace.
- Pay close attention to the part numbers and order of assembly of the large cannons on either side. I got ahead of myself, and glued the cannons together, and then only a few minutes later realized they needed to be fitted around a “stub” on the lower arm to allow them to rotate. I was able to pry them apart and correct the situation, thankfully. Of course, if you’re going to magnetize the weapons, you’ll need to account for that and deviate from the assembly order.
- The “head” comes with four different “faces”. Not being a gamer myself, I wasn’t sure what the differences were, other than the obvious visual cues, so I picked one that I thought looked the most face-like and glued it on.
- I left off the shoulder armor deliberately, as I wasn’t sure if adding it prior to the arms might interfere with adding them later.
I used a bit of poster tack to test fit the major components together, and all went together nicely. The arms have a notch and groove mounting system so that they can be easily taken off and on. Even the carapace fits so well that it doesn’t require glue. (Might be a great place to store some M & Ms for a quick in game snack? 😉 ) The two legs can be added on either side to vary the pose. I did see a post on Facebook of a builder who modified the legs, posing his Armiger in a cool running pose. I thought about ripping off imitating that idea, then I considered my aversion to modifications (I ALWAYS botch them… always), and decided it was best to let others do that.
I’m looking forward to starting the painting on this fellow. I’m not sure which scheme I’ll use, as there are several very cool options available using the excellent decal sheet supplied with the kit. The only real gripe I can make against it is that if you’re not a gamer, figuring out anything beyond the box art scheme takes a bit of work. Still, a few searches of the Googles, and a question here and there to a 40K gaming (Niki- where are you? 😉 ) friend will sort all of that out.
While not as large as the “Big Knights”, this two kit boxing is proving to be loads of fun, and is an excellent build. If its price tag seems a bit steep ($75), perhaps try splitting the cost with a friend, and doing a dual build?
Highly recommended for any modeler.


Leave a Reply