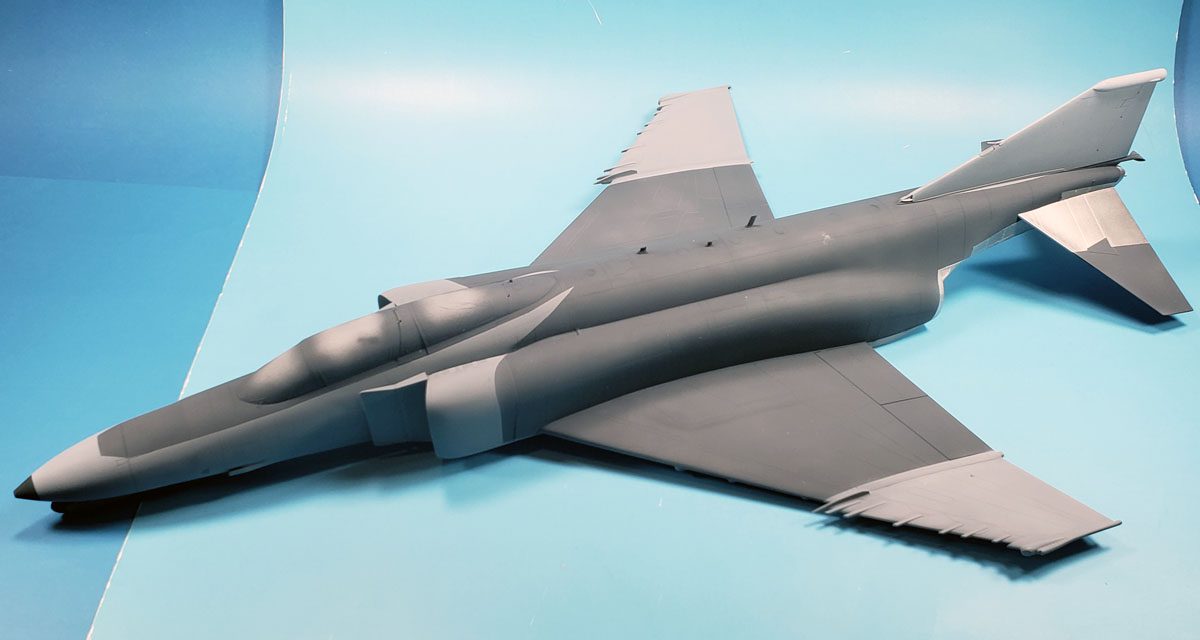
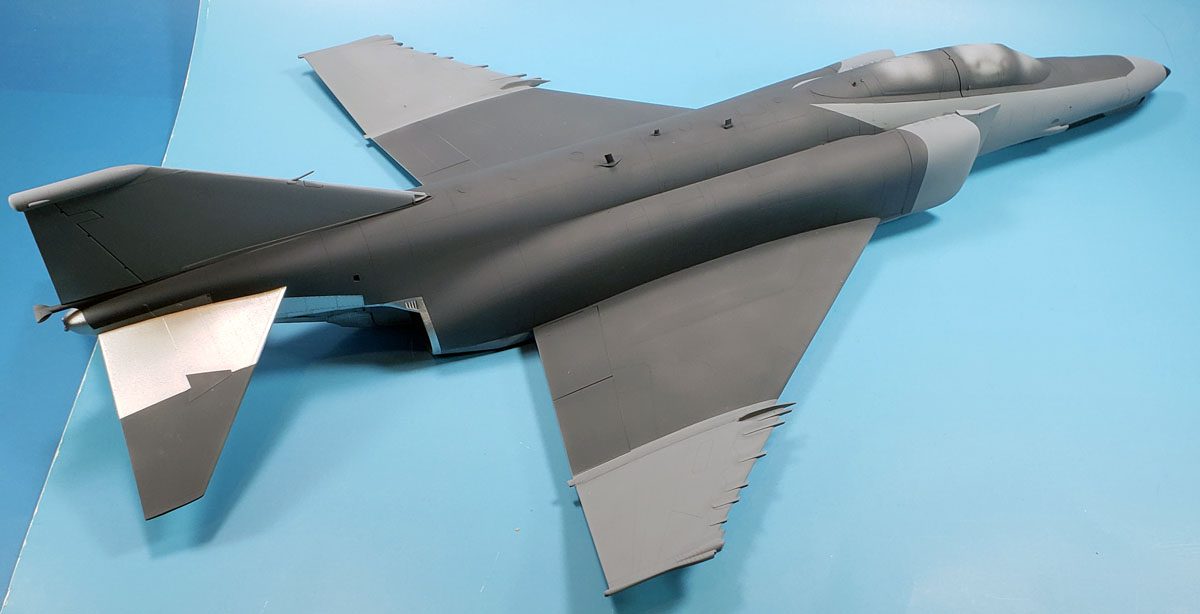
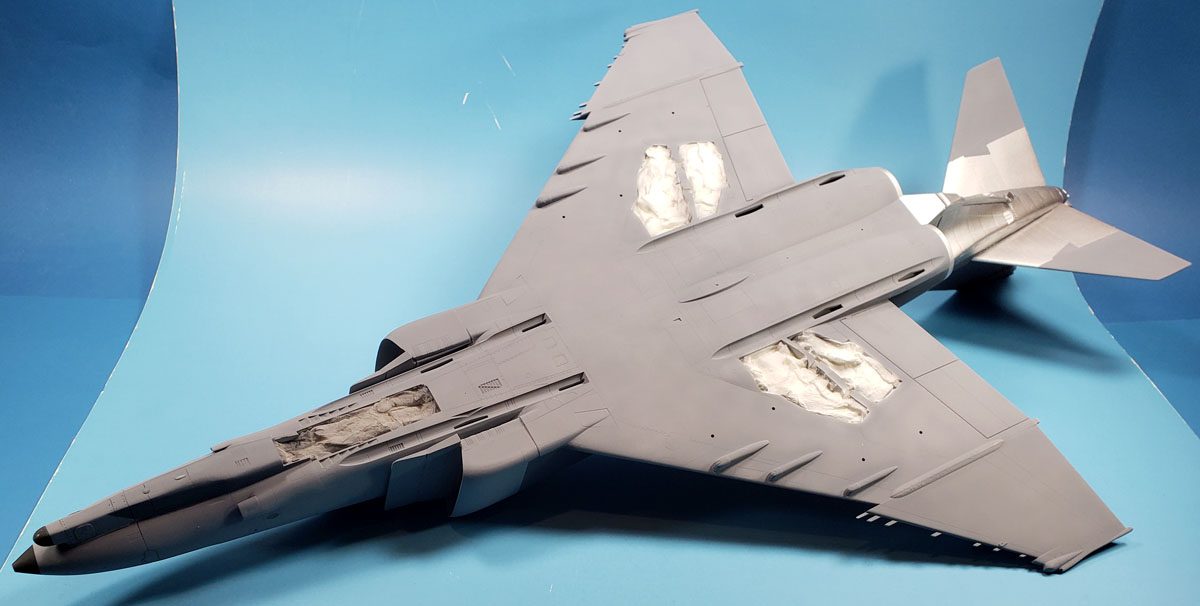
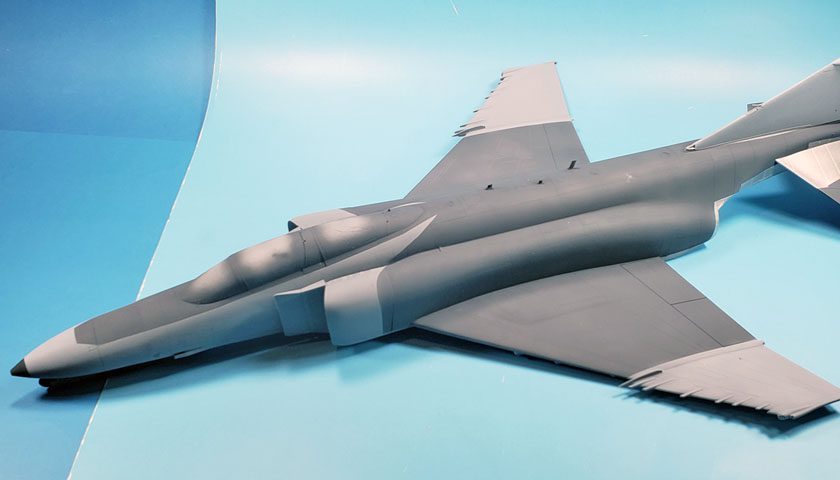
I’ve finally gotten the basic paint on Revell’s giant Wild Weasel, and hopefully the light at the end of the tunnel that I think I am seeing on this one is not an oncoming train.
I’d last posted about this kit in February, with some pretty strong thoughts about whether aftermarket resin is needed or not on most kits. Since that post, it’s taken a lot of work to get the model to this point. All of it has served to only further cement my feelings about resin aftermarket parts.
In my opinion, they are vastly overrated.
And I’m not expressing such an opinion as a novice in their use. I’ve added enough resin on my builds over the years to fund a decent four day weekend getaway to the beach for the family, including a trip to a nice amusement park. I’ve built more than a few full resin kits, including Silver Cloud’s MB.5 and Magna Models Firebrand. (I still twitch just a bit from them! 😉 ) Those two kits alone are enough to make the most diehard resin fan swear the stuff off.
And it’s not that I don’t think resin has its place. There are plenty of very good resin additions that can be made to any kit which help add to the detail, or make up for kit shortcomings. I don’t think I’ve built a Spitfire in 1/48 scale that did not have an Ultracast resin seat. And every Eduard Spitfire I’ve built has made use of a single piece resin upper cowl to make up for the kit’s split piece solution.
But as I’d written of previously, the net result for most resin additions is not worth the expense, in my opinion. Yet too many new modelers, or at least modelers inexperienced in resin, are often given the impression by “helpful” fellow modelers that resin replacement parts are an absolute necessity. And it’s simply not true.
Certainly, each modeler has the freedom to choose – add resin or not. It’s up to you. But I’d submit that if you’re not sure about whether to add resin or not, stop and take a good look at the kit parts first. Ask yourself if the final visual impact of any resin replacement will be worth the money and time you put into it. If you answer yes – great! Go for it.
But if you’re not sure, here are a few ideas to ponder:
- In my experience, “drop fit” replacements are rarely that. And the larger the piece is, the less likely it is dropfit. Look at the part(s) you are replacing, and the resin designed for it. Does it pass a simple logic test of looking like it would actually drop right in?
- Resin cockpits almost never fit… almost. I had one example – a Cutting Edge cockpit for a Hobbycraft P-59, and it fit without adjustment. But in examining my build notes from over the years, just about every other example required not only to sand away the kit’s own interior detail, but often required sanding fuselage halves to literally paper thin tolerances, and in a few cases, even sanding away much of the resin, simply to get things to fit. And many times they never truly fit.
- Cutting plastic is a slippery slope. Many aftermarket resin sets, especially pieces that are externally applied to correct, upgrade, or allow for different variants, will call for some of the kit plastic to be cut away. Sometimes these cuts may be along panel lines. But more often than I’ve cared to deal with, they are not. Even with the most careful of planning, measuring, and use of cautionary sanding may still lead to less than stellar fits.
Of course, all of these deficiencies can be made up for with modeling skills. Filling, sanding, shaving, cutting, and other basic disciplines inherent to the hobby can force things to fit. Yet the question remains – is it worth it?
The more models I build, the more I realize that resin is a detractor for me. In most cases it gets in the way of my primary goal – to enjoy the hobby.
Taming The Wild Weasel
After my previously documented experiences getting the resin cockpit into the forward fuselage section, the next major task was to marry the replacement resin nose to the forward section.
The kit nose admittedly looks a bit anemic compared to photos. So I can’t say that if accuracy is very important to you, there’s no good argument for not using a replacement. However, the replacement at hand (from GT Resin) required cutting off the front end of the entire forward fuselage, and therein lies the problem.
While I made sure to measure multiple times, consult instructions and other build reports, hold the resin nose alongside the kit parts, and even made my cut conservatively to allow additional sanding adjustments, it only became apparent after the fuselage halves were cut that where the circumference of the resin nose was supposed to mate up with the circumference of the kit parts did not fit.
And the cut lines were not mysterious. They were fairly well documented. Yet when I finally made the cut, and taped the fuselage halves together – a fit that was perfect, to Revell’s credit – the new nose was simply not as big around as the place it was too fit. Not only that, the customer (this kit is a commission build) had sent TWO examples of the nose. Neither fit, and both examples did not match up to each other. (Although I do wonder if the two examples were meant for different kits?)
In the end, I had to do exactly what I mentioned earlier – fall back on basic modeling skills. I added a few bits of plastic card here and there to make the fit as good as possible, and then I glued the resin replacement in, and then began the process of sanding, filling, and shaping, over and over, until I got things blended in to be close to acceptable. The end result is a nose that in overall shape is closer to accurate, but because of the realities of getting it on, introduced more shape problems simply to get it in place.
In my mind, the net result is actually a loss, because the “points” added by having a more accurate nose are negated by the deduction in “points” for all of the fairing in to try and blend the part.
Still, the forward fuselage was done, warts and all.
The aft fuselage portion was assembled separately. After discussions with the client, it was decided to forego the resin replacement intakes, because at this point I had zero confidence that those would mount any better. The kit parts were used, and while the fit was not stellar, things went together with nowhere near the fuss required for the huge models big honkin’ nose.
A further shortcoming was discovered, however, when attempting to mate the forward section to the aft.
Revell’s basic kit is not bad. The surface detail is very good. The parts are crisply molded, and generally fit well. However, it becomes obvious as the kit is assembled that it simply does not seem to be engineered for this scale. The same engineering in 72 or 48 scale would be fine. But in 32 scale…

The model is BIG. As the photo shows, I had to add some additional colored cardboard to the background just to cover up my model desk. The lighter blue section is large poster board. The model extends over that. It’s a monster.
Yet the internal structure of the kit is largely hollow. There is very little in the way of internal framework or bracing to account for the mass of the structure. And the forward fuselage joins to the aft with little more than a butt join. Additionally, parts are engineered in such a way as to make it quite the task to add additional structure to reinforce the section.
As with adding the nose, I simply tackled the problem as an engineering exercise, adding bits of sprue, plastic card, and even some strategically placed lumps of quick set epoxy to give points of attachment. Even with all that, I think a good knock against the floor would cause the forward section, which is already very heavy due to the solid resin nose, to fall right off.
With the main sections assembled, I could begin the paint process. Thankfully, that was pretty simple. Tamiya XF-53 Neutral Gray covers the majority of the fuselage. That was masked off, and Tamiya XF-63 German Gray was applied to the upper sections. The bare metal tail area was sprayed with Ammo of Mig Matt Aluminum, though later weathering will darken that down quite a bit. A tiny bit on the nose was masked and given a brief spray of Tamiya XF-69 Nato Black.
There’s still a long way to go with the kit, including painting and detailing the undercarriage and stores, and then adding the decals. Including about one gazillion stencils… {sigh} And then of course some light weathering.
Thankfully, the gut wrenching part is behind me. (At least I hope it is!) The rest seems to be “normal” model stuff. I think the largest remaining hurdle will be to ship this big chunk of resin and plastic.
If you’re a seasoned modeler, and you like using resin, you already know that, and I imagine you have the skills to assess each project. So anything I’ve said in way of “editorial” may or may not apply. However, if you’re new to the hobby, or simply have not used resin before, I’d strongly advocate for taking a very objective look at it. Just because your good friend tells you how completely inaccurate some part is, and it must have a resin replacement, is no cause to set aside your own common sense. A good, objective evaluation will help you decide if doing so fits your goals.
For me, they generally get in the way of my primary goal – having fun.
But your mileage may vary, of course. 😉


Leave a Reply