In the last exciting episode of this dual Spitfire Mk. Vb build, I examined the cockpit assemblies. Today we’ll look at the wing… and that Airfix landing gear.
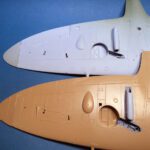
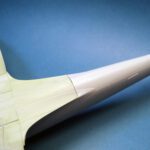
For both kits, the overall look of the wings is very good. Both assemble easily, with no gaps to speak of, and only minor seam work to address. The cannon barrel inserts on the Airfix kit aren’t a perfect fit, so I aligned them to the top of the wing, and will do the sanding work along the bottom. The Tamiya kit’s cannon barrels are part of the upper wing, and depending on the kit, there can be a small gap to fill where it fits to the stub on the lower wing. Airfix’s wingtips are molded as part of the upper wing, while Tamiya’s are separate, to allow for the reduced span version. The fit of Tamiya’s wing tips, however, was perfect.
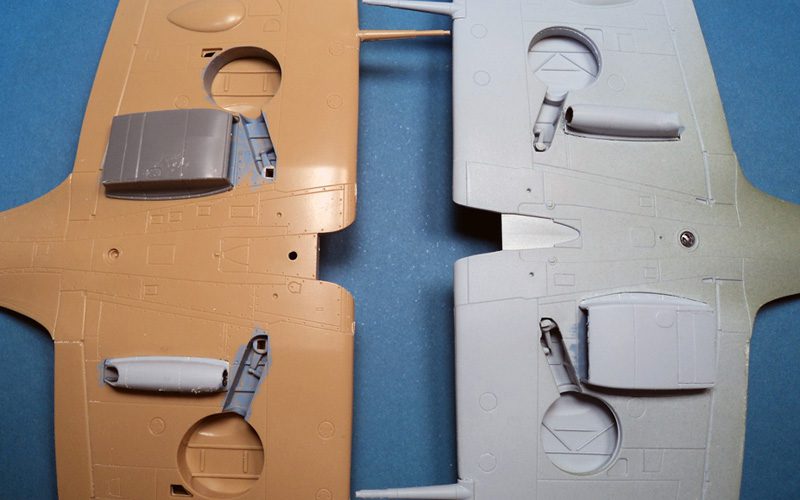
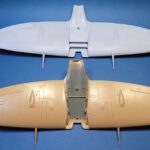
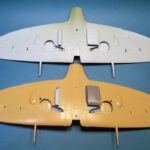
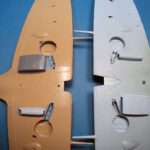
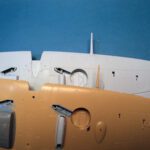
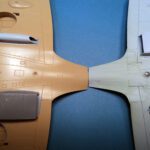
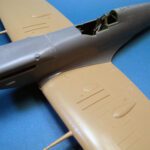
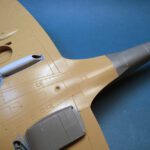
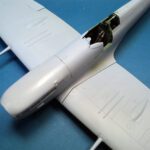
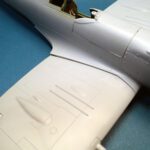
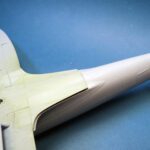
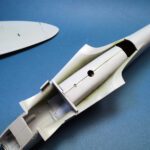
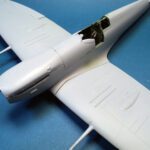
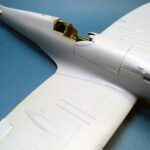
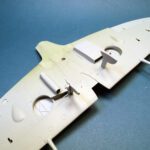
(In all photos, the Tamiya wing is the tan one, the gray is Airfix.)
Each wing has some minor detail differences. As I’m not doing this comparison build to examine accuracy, I’ll leave it up to you to decide which is more accurate. What I do find noteworthy is that the Tamiya wing is a bit more “busy”- it adds more panel line and rivet detail. While it’s a small thing, I do feel as if it makes the Tamiya kit a bit better, in this regard. Note the various small rivets around maintenance hatches, and the generally sharper and crisper casting of the Tamiya kit. (Keep in mind it’s 20+ years older, too.)
The fit of the oil cooler and radiator cover on both is very good. Not surprisingly, Tamiya is a bit better, but only by a small margin. With some minor sanding, the Airfix kit mates up just as well.
While I’m not going to jump into the landing gear of the Airfix kit just yet, I will point out that if you examine the details of where the landing gear attach, I don’t think Airfix’s clunky method is worth the resulting look. Yeah, if you get right in on it- and I mean inches away- you can see it. But if you pick the model up, flip it over, and look at it from 2 feet away, the difference is negligible. More on that though…
One item I do not like about the Airfix kit- and I’ll admit this is generally personal preference- is the separate control surfaces. I simply do not understand the fascination many modelers have with such a feature. The problem I see is that in just about every kit I’ve built with control surfaces like this, they simply do not fit. And often the amount of sanding and filling and shimming required alters the overall profile to the point of absurdity. In all five examples I’ve built of the Airfix kit, none of the ailerons have had a good fit. I know some folks discount it with the phrase “on my example”, but in this case, I think “my five examples” would indicate they’re all this way. This time around, I just glued them on. Why fight it?
So if you love your control surfaces all deflected and at every conceivable angle, you’ll love the Airfix method. I prefer Tamiya’s method- fix them in place and let it be.
Alright- so each wing generally looks good. What about the fit?
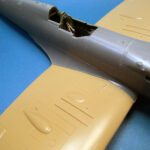
The Tamiya kit is virtually perfect. I say virtually because the aft join of the lower wing to the fuselage will require a bit of filling. Frankly though, in the 75+ Spitfires I’ve built, I’ve not seen a single example of this area that didn’t require some sanding, and subsequent loss of detail.
Apart from that though, the wing roots will need no more than an application of Mr. Surfacer, and a quick wipe down with a cotton bud dipped in alcohol to seal any tiny cracks. I wish every kit fit like this.
If you do encounter a bit of a step- sand the bottom of the cockpit parts down. In the few instances I’ve had minor fit issues, that resolved it immediately.
Now, going into the fitting of the Airfix wing, I knew from prior experience it would not fit perfectly, and I knew why- but I wanted to show why, so hopefully others will find this information useful.
Initial fitting showed a not too good fit- gaps at the wing root, and horrible fit at the aft wing to fuselage join on the underside. Though tight clamping would resolve it, a simple rule of modeling was apparent: if something doesn’t fit, something is in the way. Sounds simple, but I think sometimes people often overlook this.
Previous builds had revealed the culprit. In the inside of the lower wing assembly, there is a small clear part for the underside beacon. It is supposed to fit in a corresponding hole in the underside of the cockpit. In all five builds, I’ve seen the exact same issue- it doesn’t fit. But the fix is very simple- make the hole in the cockpit underside a bit bigger. With that small modification, the wing fit very good. Not quite Tamiya standard, but still very good.
Overall, both kits have very nice wings that fit quite well. I do give a slight nod to Tamiya for better surface detail overall, and better fit. The Tamiya landing gear bay isn’t quite as detailed as Airfix’s multipart assembly, but any benefit derived from the Airfix engineering is, in my opinion, lost. Why?
Those landing gear.
OK- I am going to be a bit harsh here, but I believe it will make the point. The engineering of the Airfix landing gear is simply bad. How Airfix came to the conclusion that the answer to the engineering question of how to make it look realistic required this parts breakdown is simply beyond me.
To quote a British friend- it’s bloody stupid.
I get the problem. The Spitfire had a very intricate retraction system, and simply making a hole in the upper wing for the gear to fit into isn’t enough. The detail needs to be replicated.
Tamiya approached this problem in typical straight forward fashion. Add in some raised detail that would look good in general observation, and would be easy for the modeler to assemble.
Airfix wanted it to be better detailed, and in many ways they were on their way to it. Yet instead of sticking with the tried and true method of peg-in-the-hole assembly, they for some inexplicable reason decided to go with a stepped join with no appreciable alignment guides. (Eduard took a similar approach with their Mk. IX, but used a much more traditional join method for the gear, and it works perfectly.)
Airfix’s assembly instructions would have you add the gear at the end of the build- which makes sense. But the engineering makes this difficult to get a good join after all the paint is on. So you’re left with finding an alternate method.
Here are methods I’ve tried:
- By the instructions- this was the least desirable method, it turns out. With paint on, and even scraping some away to get a good join, trying to glue the gear on at the end was simply a pain. They will go on, but are so fragile as to be almost useless for normal handling.
- Assemble the gear legs first- This works the best in my experience. Assemble the upper and lower part, and let them thoroughly dry. Then add them in as per the normal instruction method. You still have to be careful to not knock them off.
- Add small wire or thin rod mounting points- This is probably the strongest method, but because of the notch in both end, drilling a straight, clean hole that lines up is a bit difficult.
- I have heard of a method where the modeler filled in the notch on the lower longer part, removed the notch on the upper part, and then drilled holes in each. A section of metal rod was them used to join the two parts. I have not tried this particular variation. It sounds like the best method, but it is certainly a pain, and for the casual/youth modeler, may be outside of the realm of skills.
- In any event, when I install the gear doors, I slide them down just a fraction so they make contact with the wing. Gluing these in place in such a manner will give some additional strength to the gear.
For this build, I just followed a modified version of the assembly instructions, and dealt with the warts. All in the name of showing this to the reader. I’m just that kind of guy. 🙂
I cannot overstate how disappointing this feature is on the Airfix kit. I know from personal experience that it will frustrate an 11 year old modeler to no end.
Airfix does provide a gear up option, so I suppose you could avoid the pain of the whole thing via that route. But it simply didn’t have to be.
So those are the wings. If it weren’t for the landing gear issues, I’d declare them pretty much equally good. In the end, though, both look very good.
Next time, we’ll actually glue the wings on, add the tail planes, and examine some of the other bits and pieces.


Leave a Reply