Over my years of modeling, it’s often fun to look back and see how so many things I do have evolved. That evolution is driven by multiple factors – experience, new products, seeing what others are doing, and so much more.
And I think that is why it is often hard to convey a proper answer when someone asks “How do you do such and such? Because the real answer can be much less about technique or product, and much more about experience.
As we get more repetitions in, we learn more… products, techniques, methods, what works, what doesn’t. And somehow in our minds it forms this big pot of pattern recognition. The time invested translates into more refined finishes that factor in all of those reps.
Early on, I would see distressed finishes on aircraft, and I wanted to replicate them. Over and over I tried to do so, reading book after book, scouring forum after forum. I built dozens and dozens of models, doing the same thing, then making minor variations, all based on what I saw others do.
And then one day a friend was looking at a finished model, a friend whose work I had admired and tried to replicate. He commented to me that it was one of the best finishes he’d ever seen, and the distressing in particular was excellent. Then he blew me away with his next question.
“How did you do this?”
It dawned on me later, as I thought about that even, that we never really get there if we’re really looking to grow. It’s like the old story of continually cutting a block of wood in half. You can never actually get rid of it. it’s always just a refinement, narrower and narrower, of what it was previously.
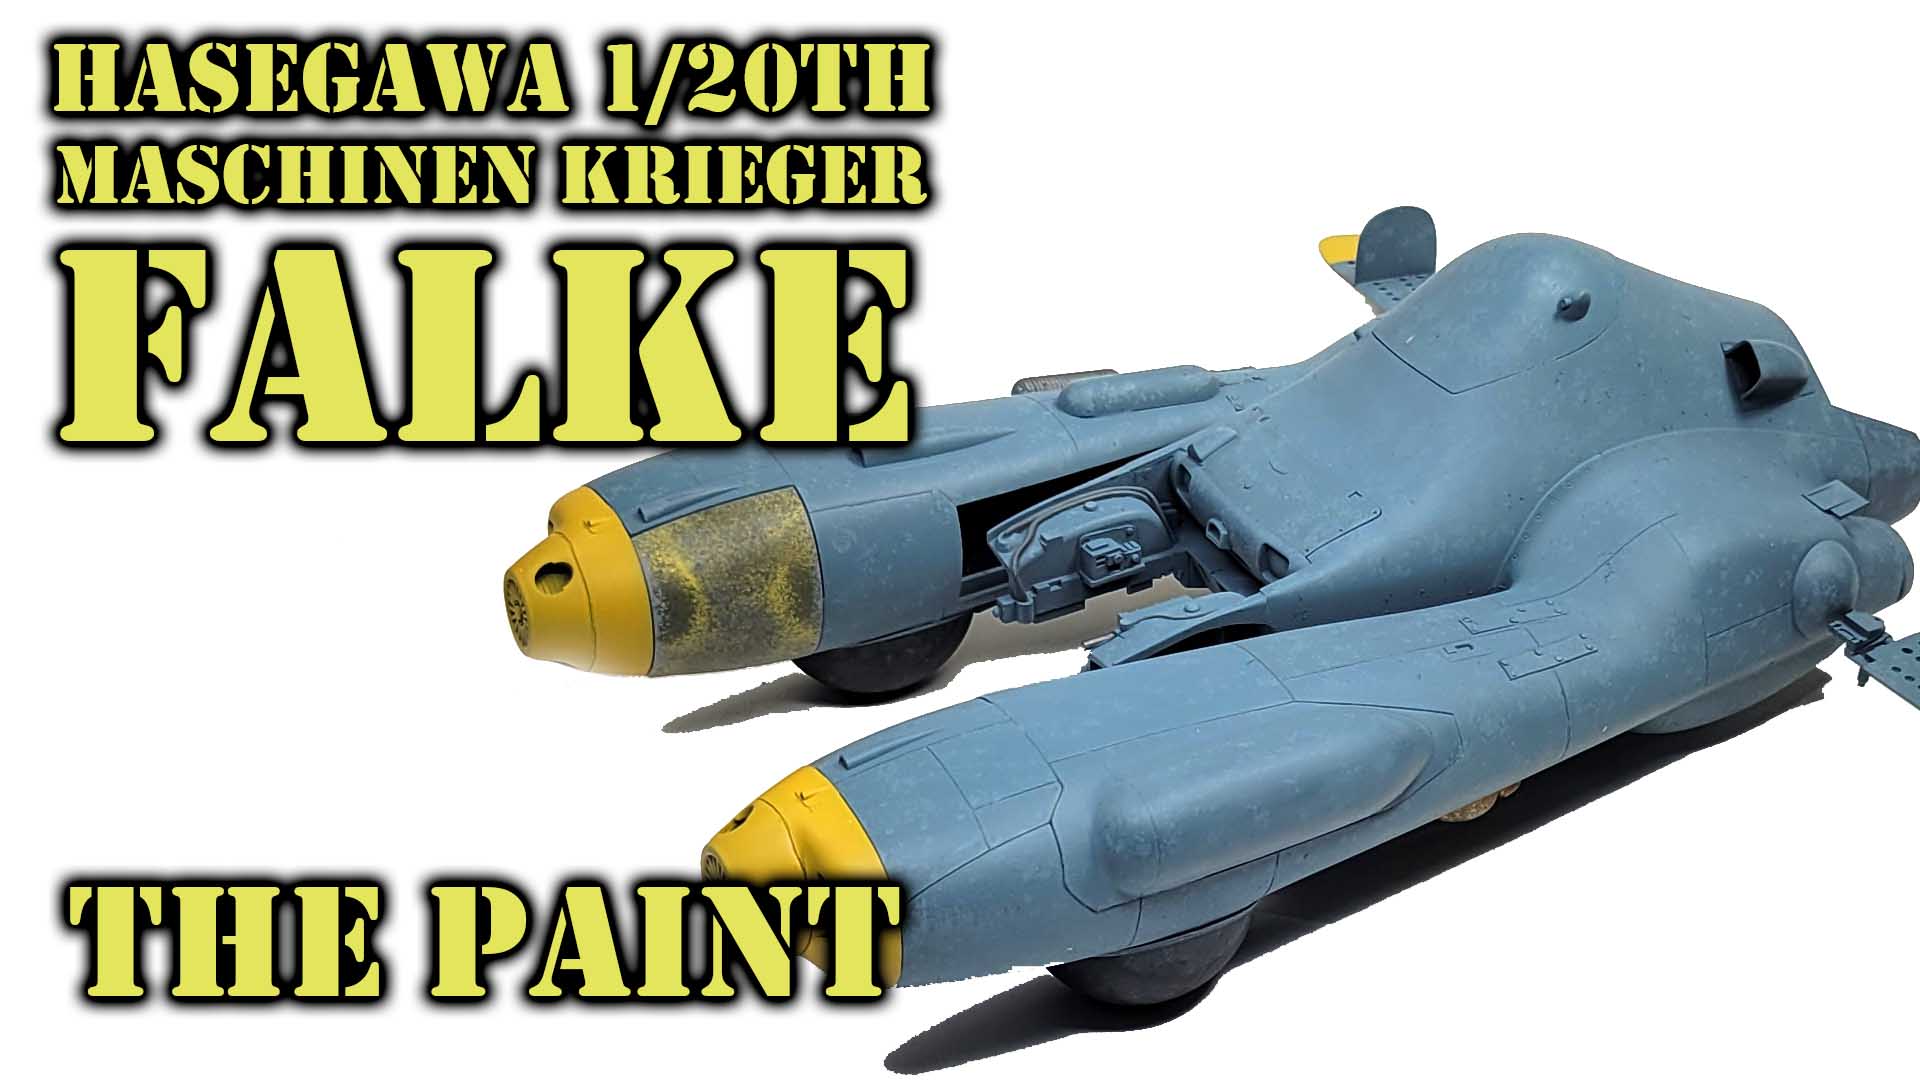
The finish in this Falke is not exemplary or notable. It would have been more interesting if I’d not tried to be more subtle with it, and reached that point that I subtled my way right out of interesting.
But though I could have stripped it back and reprimed it and started over, I chose not to. Because I’ve also learned that the next model comes along. And that first model back in the hobby in 2006 melts into the 435th in 2026 far faster than I’d like to admit.
If you’re modeling with growth in mind, note every detail. It’s all a catalog of refinement that increases as you go, giving you more and more data to draw on to make the things you see in your head happen on plastic. Mostly.
Because if we’re honest, we always know we can grown and learn and improve just a bit more.
Paints
Vallejo Model Air
USAF Medium Gray
Light Rust
Dark Brown
US Interior Yellow
Light Gray Green
UK PRU Blue (Faded PRU Blue)
Yellow Ochre
Black Gray RLM66
Silver
Vallejo Model Color
Neutral Gray
Sky Gray
Vallejo Game Color
Chainmail
Citadel Contrast Paints
Kroxigor Scales
Night Haunt Gloom
Apothecary White
Black Legion
AK Interactive 3G Acrylics
Black Night Wash
Sepia Filth Wash
Leave a Reply