BLOG EXCLUSIVE
These videos live here on the blog rather than my public YouTube feed so I can tackle whatever genre I feel like building. They’re set to non-monetized—if YouTube serves you an ad anyway, that’s on them. I tried.
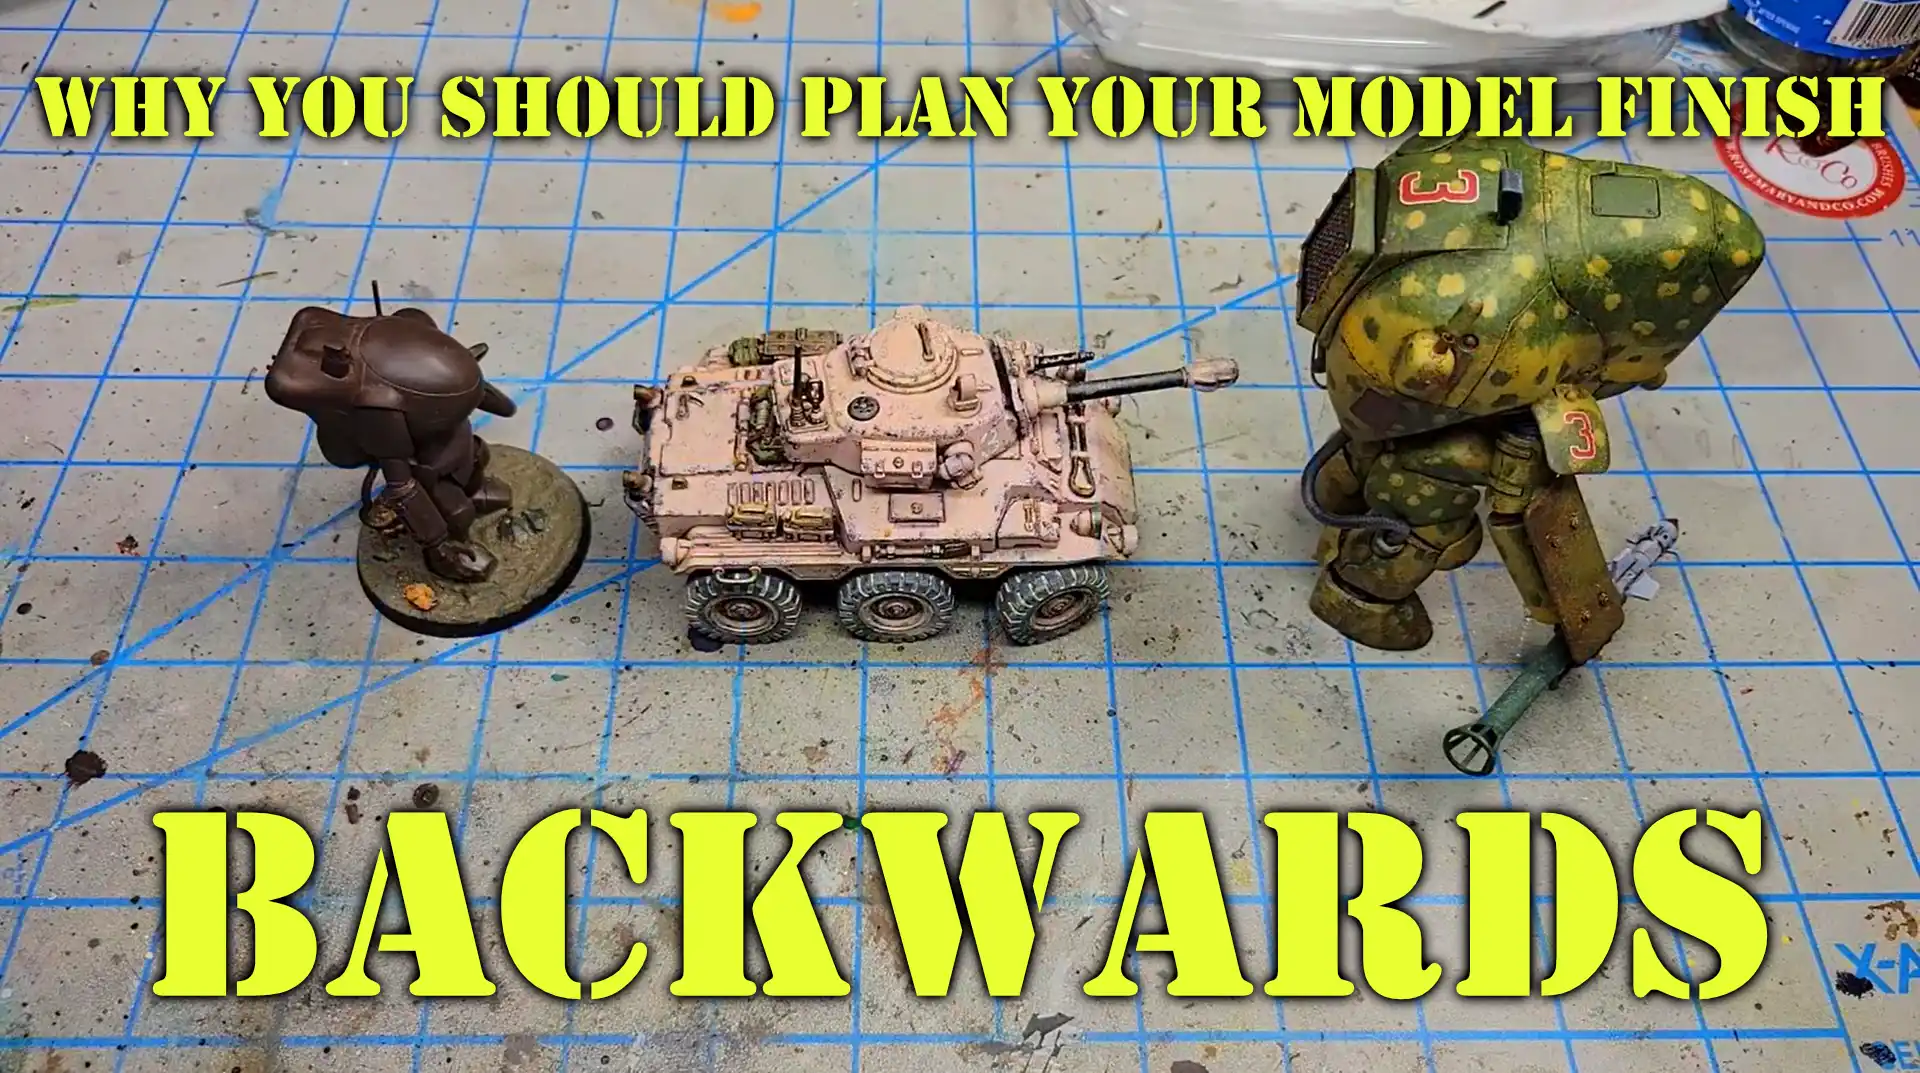
One of the more frequent questions I have gotten over the years revolves around planning a model’s finish. Quite a few years ago I published a video called Shop Talk: A Weathering Playbook. More than a few folks have seen that, and downloaded the PDF. And before that, during my “AM” period… Aircraft Modeling… I published one called My weathering technique.
So I’ve gotten quite a bit of traction from answering those questions. I guess it’s time to spam offer another refinement on the subject. And that’s really what it is – a refinement.
When I published that first one back in 2015 directed at aircraft modeling, it was a solid effort. I’d built 200+ plus aircraft models at the time, and judging by the Ebay sales and commission builds I did (which I no longer do) someone liked my work. Or at least was willing to pay good cash to boost my ego.
The 2020 video update explored the subject deeper, provided a “fancy” PDF, and folded in more of what I’d learned by that time, which added scifi to the modeling I’d done.
Add, Edit, and Delete
The thing about modeling, especially the paint and weathering process, is that if you pay attention, it constantly evolves. I “discovered” dry brushing in my pre-teen days (thanks Steve!) and still use it to this day. But my understanding of how to use it effectively, including the hardware, the paints, the color choice, the thought process, and more, have all evolved over literally decades of use.
Thus to post a new video about how I am thinking of the post-priming finishing process is not to say those previous efforts were wrong, but rather to simply show “this is how I have evolved.” It’s not about “forget those old things and do this.” It is a matter of letting it all get absorbed, testing it out, and seeing what lands best for you.
I think that is where the value may lie for my modeling friends. Some of the things I wrote in that aircraft focused article, for example, can be factored in and merged with the thinking in this video. The same can be said for the 2020 video. Mix and match. In reading back over those previous two, some things I don’t do as much, or do them in a different way. Some are genre driven, others more hardware driven.
And it’s something you may have recognized in your own work. That one technique you really thought was cool 10 years ago may still be a favorite go-to, but I would venture to say you’re far better not only in applying it, but in your thinking about the “when and why” you’re much more advanced in its use.
As I say quite often, in this hobby, reps matter. Spending gobs of time on ONE model insisting on the perfect finish is, in my view, not very productive. Build 20 models a year and keep learning and pushing yourself? That’s where you really start to learn.
Of course, if you’re like me, you’re really just an old dude hunched over a model table with bright lights shining trying to paint your plastic toy.
But at least it keeps me from going out Friday nights with my biker gang and getting in knife fights and knocking over liquor stores. 😉
Leave a Reply