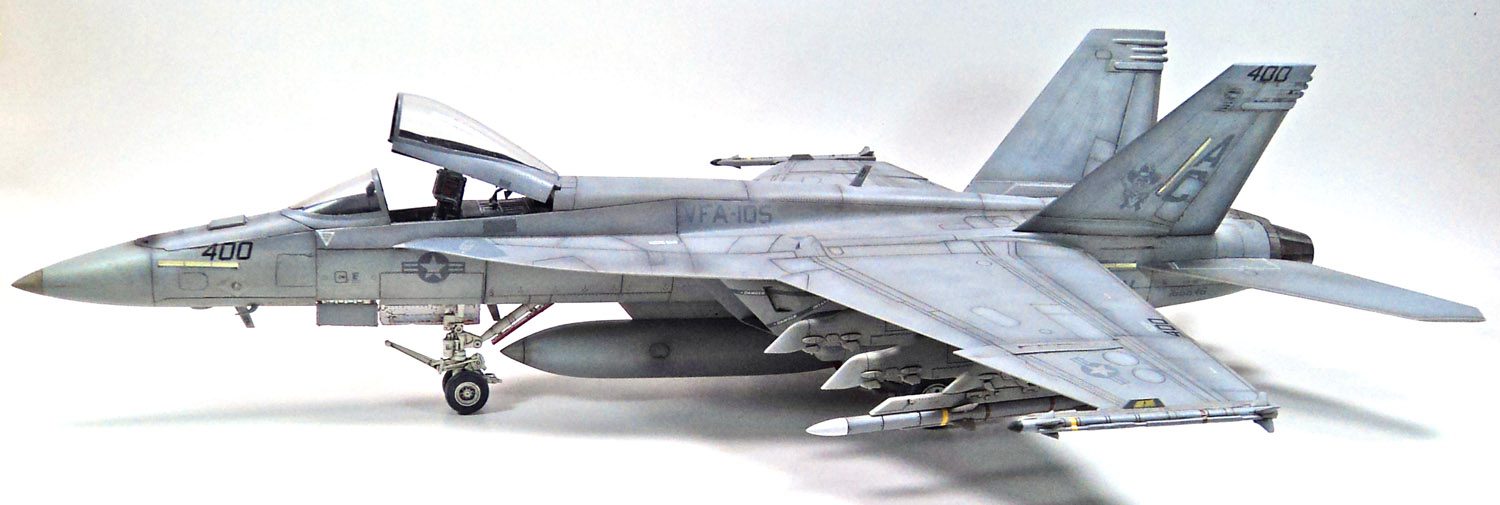
It’s not often that you find a kit that is almost embarrassingly cheap AND an excellent kit. Revell’s 1/48 scale F/A-18E is one of those rarities.
The kit’s price- originally- was about $22, which for a modern tooling of a jet is quite remarkable. But because the model is on the shelves of Hobby Lobby, an American chain of craft stores, the famous 40% off coupon can be applied, meaning you get the kit for less than $14.
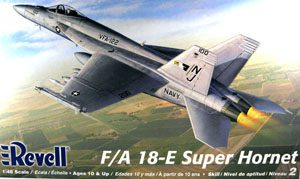
Kit: F/A-18E
Manufacturer: Revell
Stock Number: 85-5850
Scale: 1/48
And the few warts, and I mean few, found in the box seem much less painful when seen in that light.
My goal was to build this out of the box as much as possible, and with the exception of the decals, I did just that.
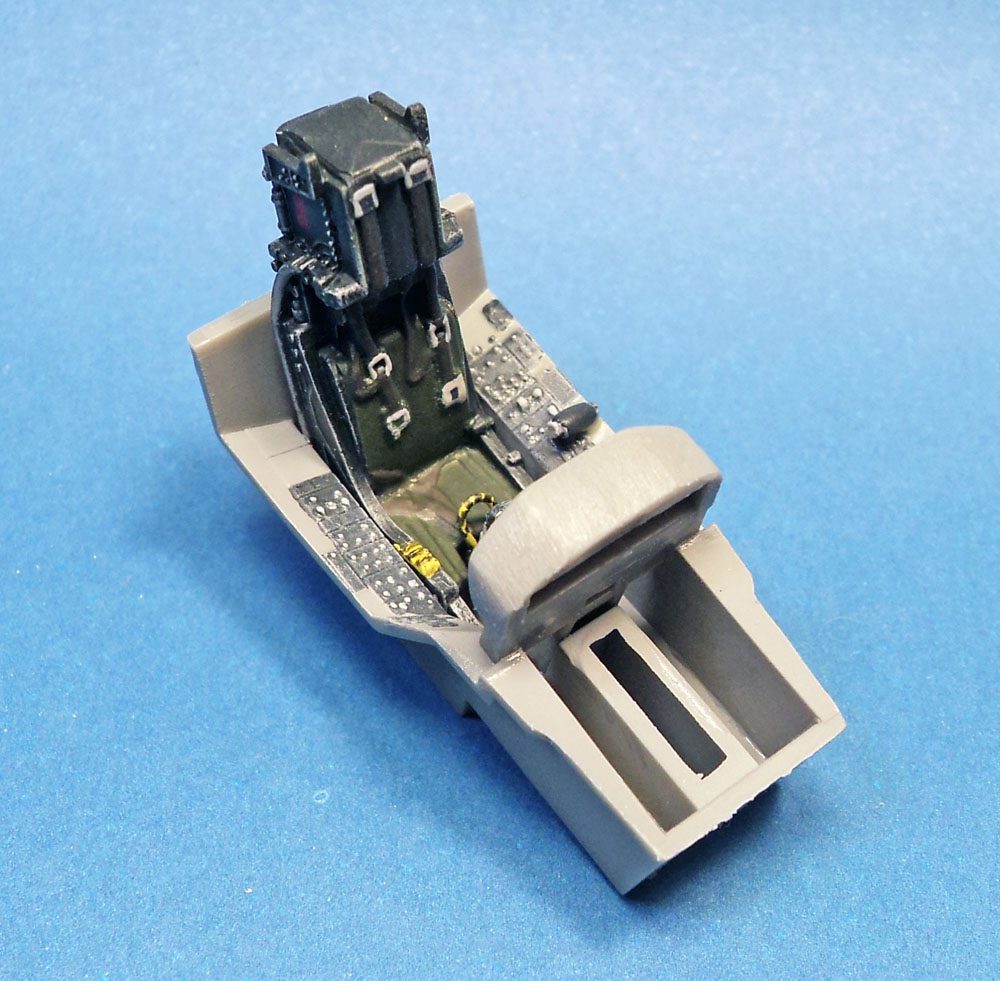
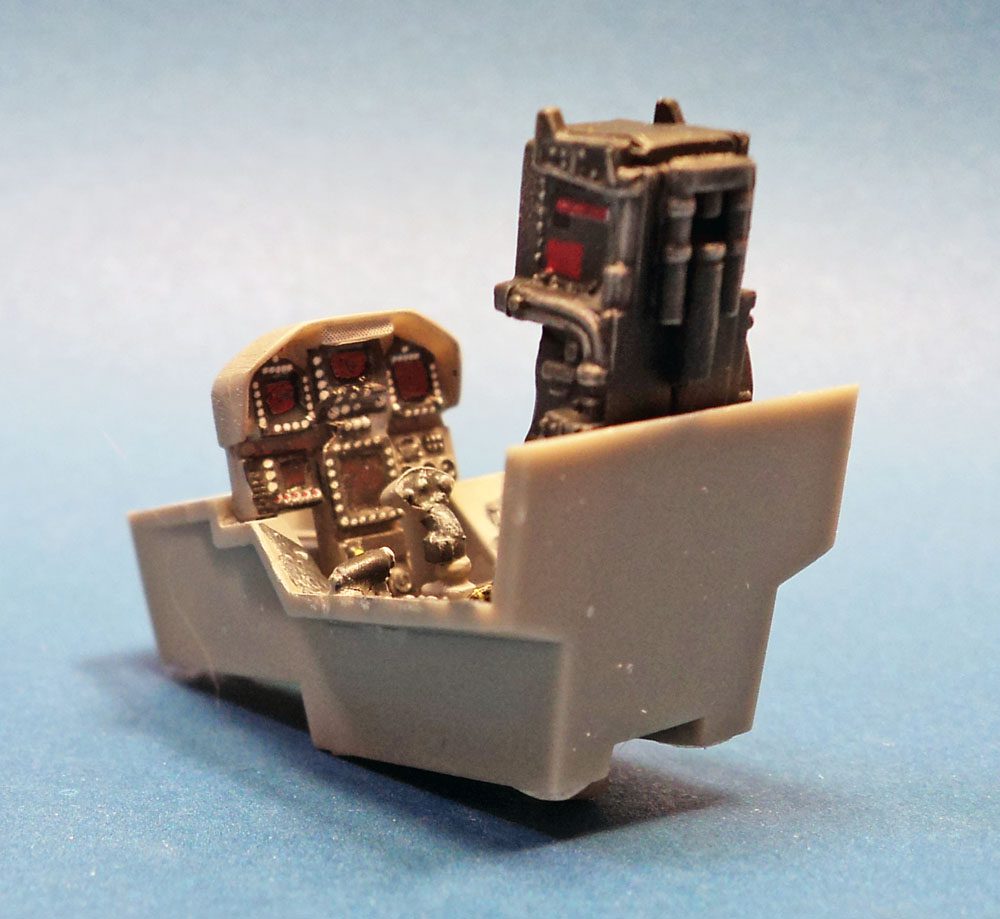
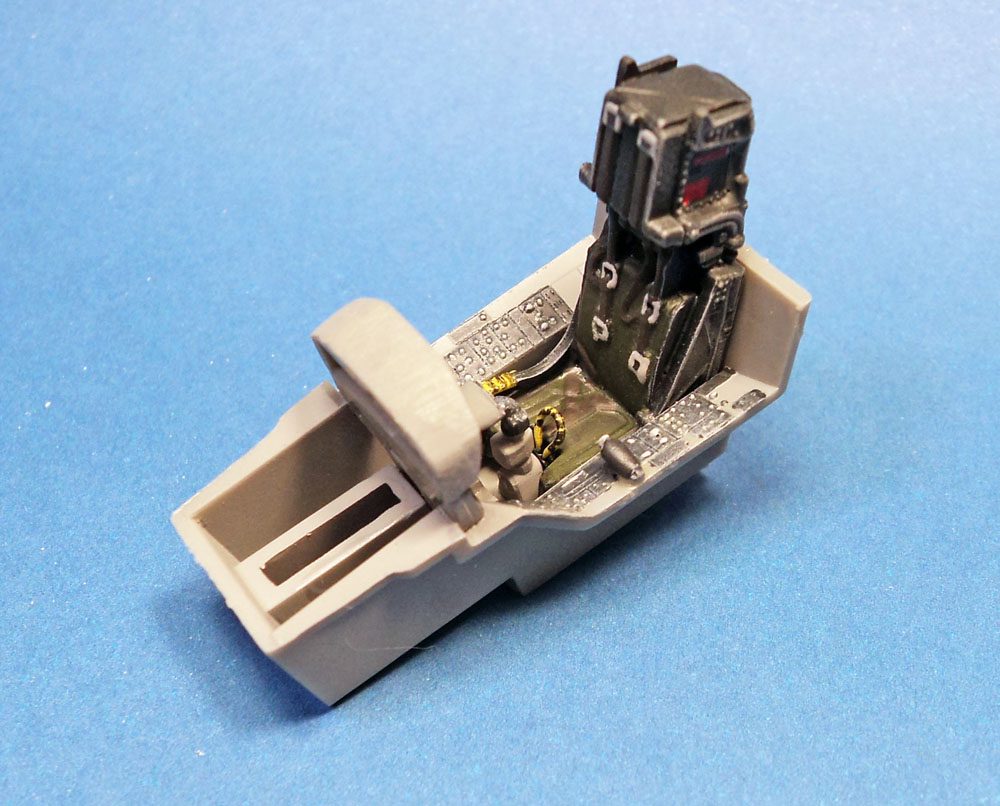
The cockpit, while not quite what you’d expect to see from Tamiya or Eduard, paints up very nicely. The seat is not bad at all, and even includes some simple molded in belts. With careful painting, it looks good. Of course, a resin seat might jazz it up a bit, and can certainly be afforded because of the whole <$14 kit price thing.
Decals are provided for the cockpit’s MFDs, both “on” and “off” options being provided. I went with the “off” option. Apart from a small part added to the back of the ejection seat, courtesy my spare parts box, the cockpit is out of the box.
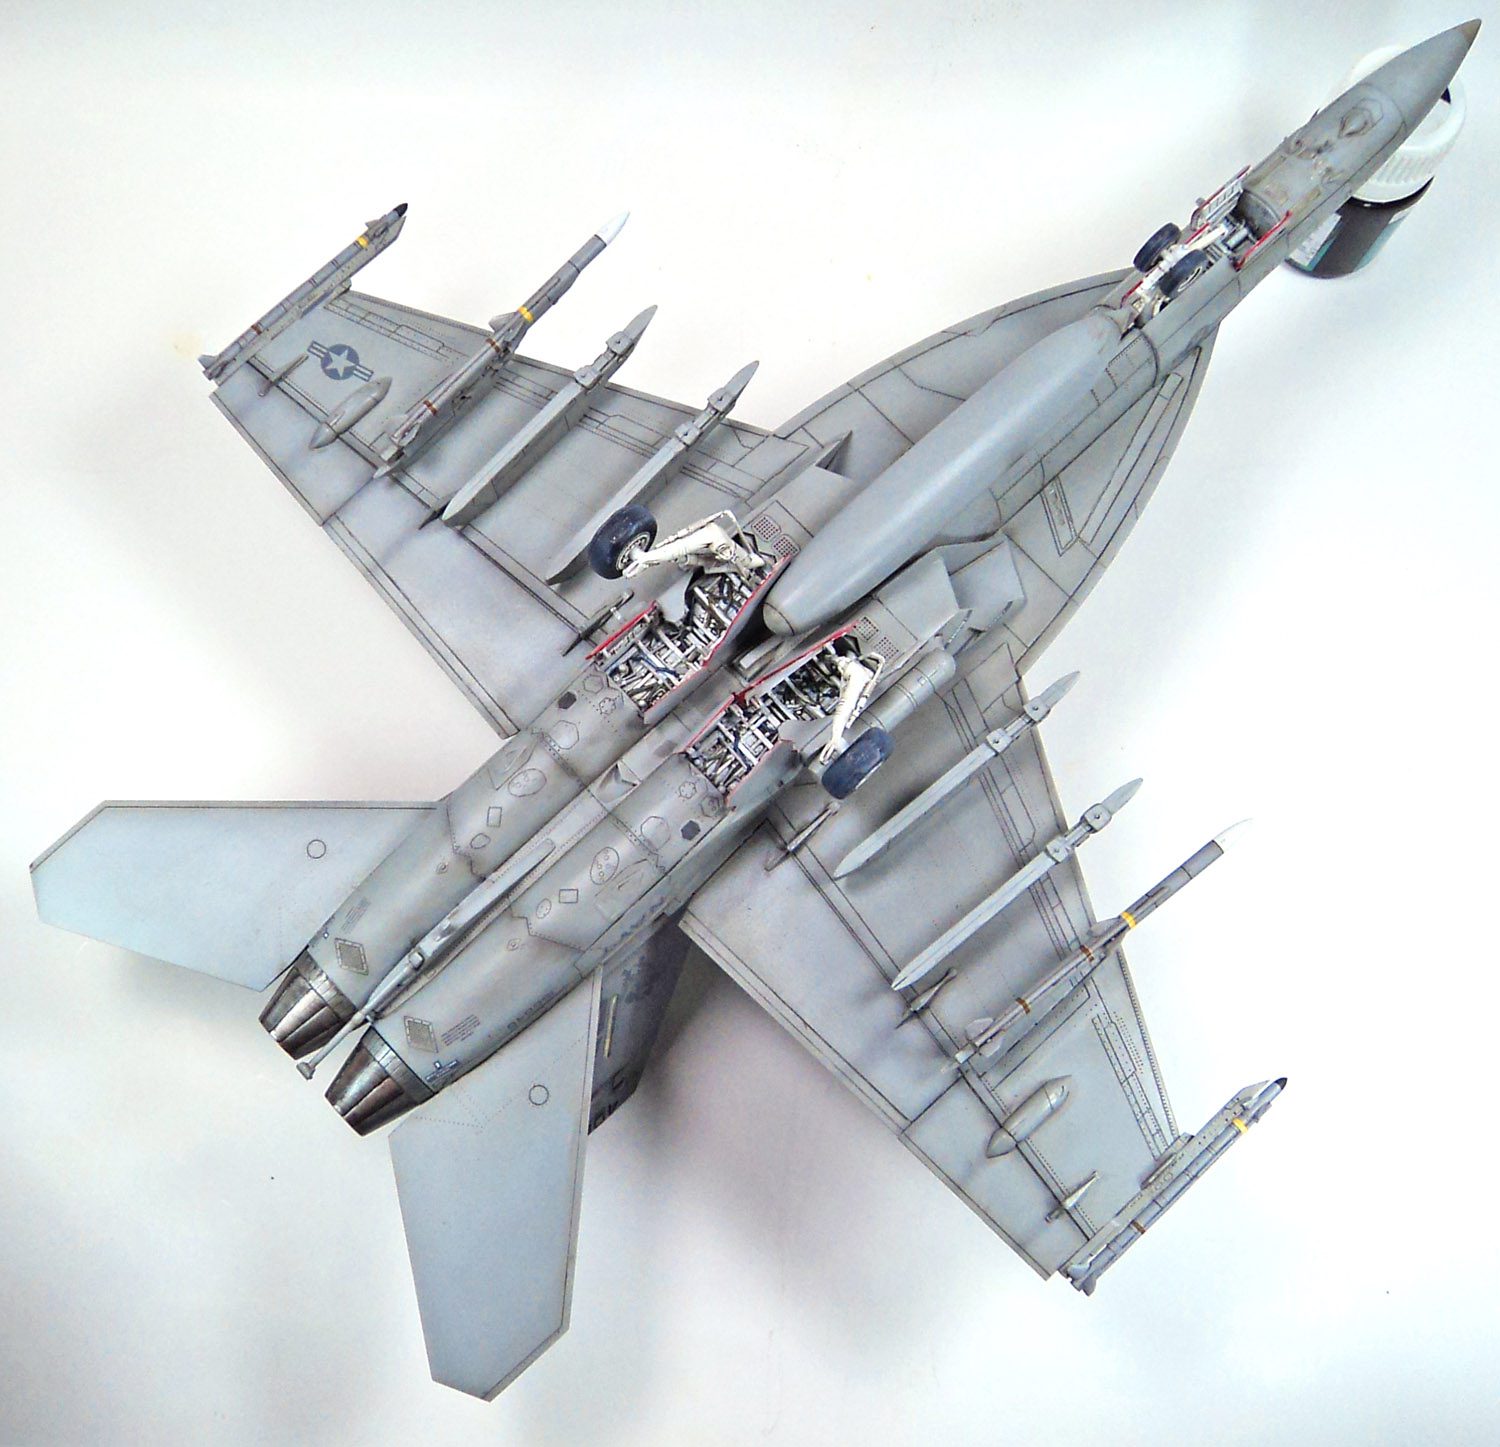
The wheel wells are extremely “busy”, and take to painting, drybrushing and washes nicely. The landing gear are nicely detailed, though a bit soft in places. A bit of sanding and shaping squared those away.
The air intakes have some clever engineering that attempts to hide all seams when viewed from normal viewing angles and distances, and with careful assembly, it does a reasonable job. (Remember- $14 kit.)
Assembly of the fuselage and wings is mostly a drama free event. Some seam work is needed. For most modelers, an application of Mr. Surfacer and a wipe down with an alcohol soaked cotton bud will do nicely. If you’re wanting to be a bit more thorough, some sanding and filling will need to be done on the perimeter of the lower edge joins along the wings and LERXs. The fit is fine, but there is a small seam that is not actually on the real airplane. (I chose to minimize it and just treat it like a panel line.)
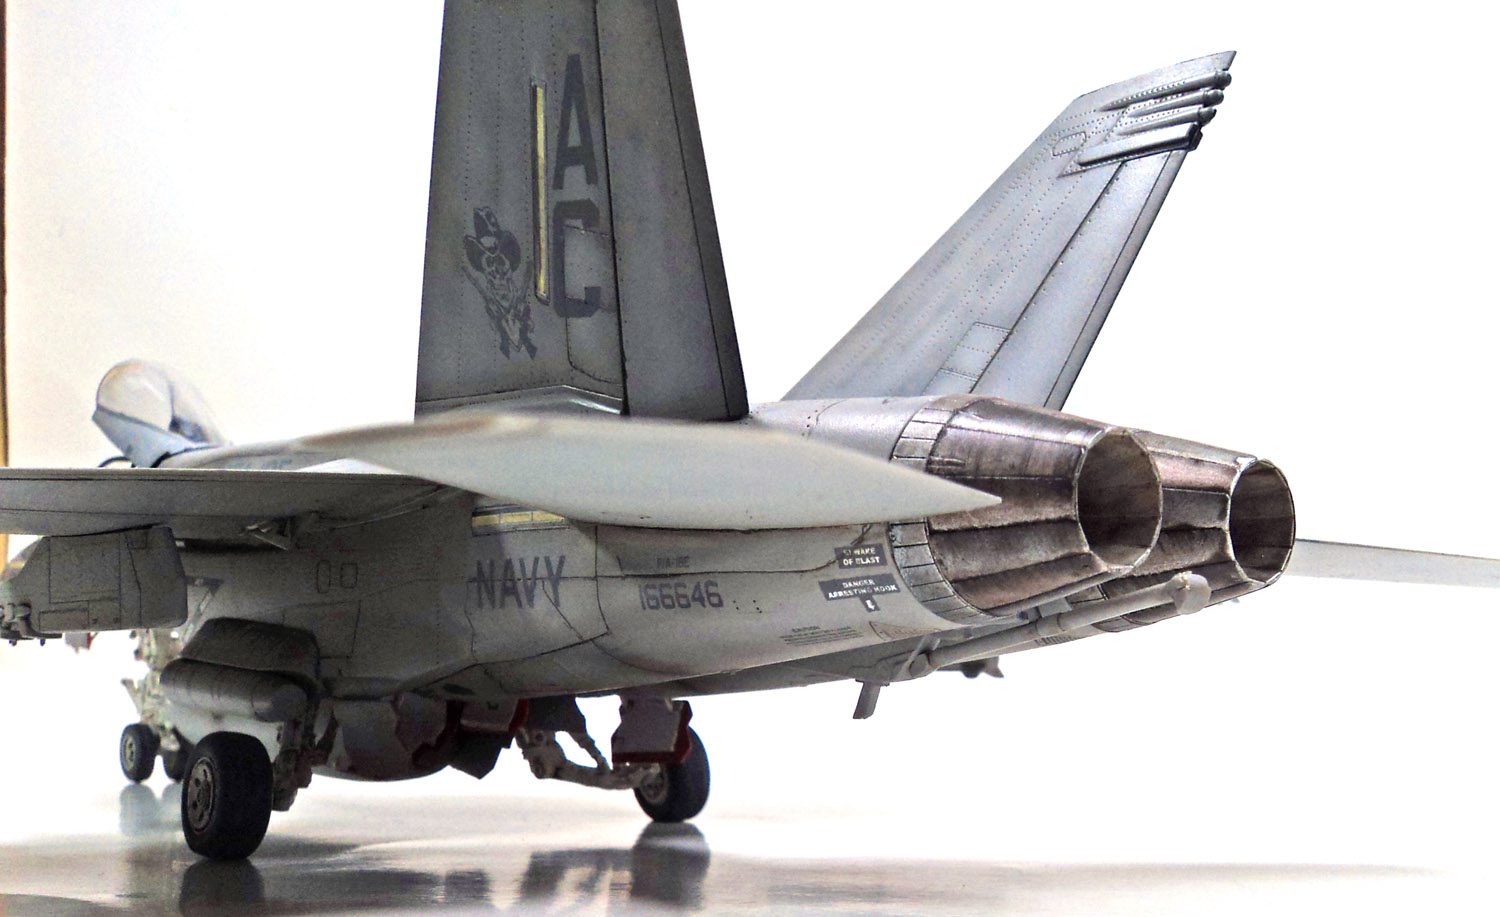
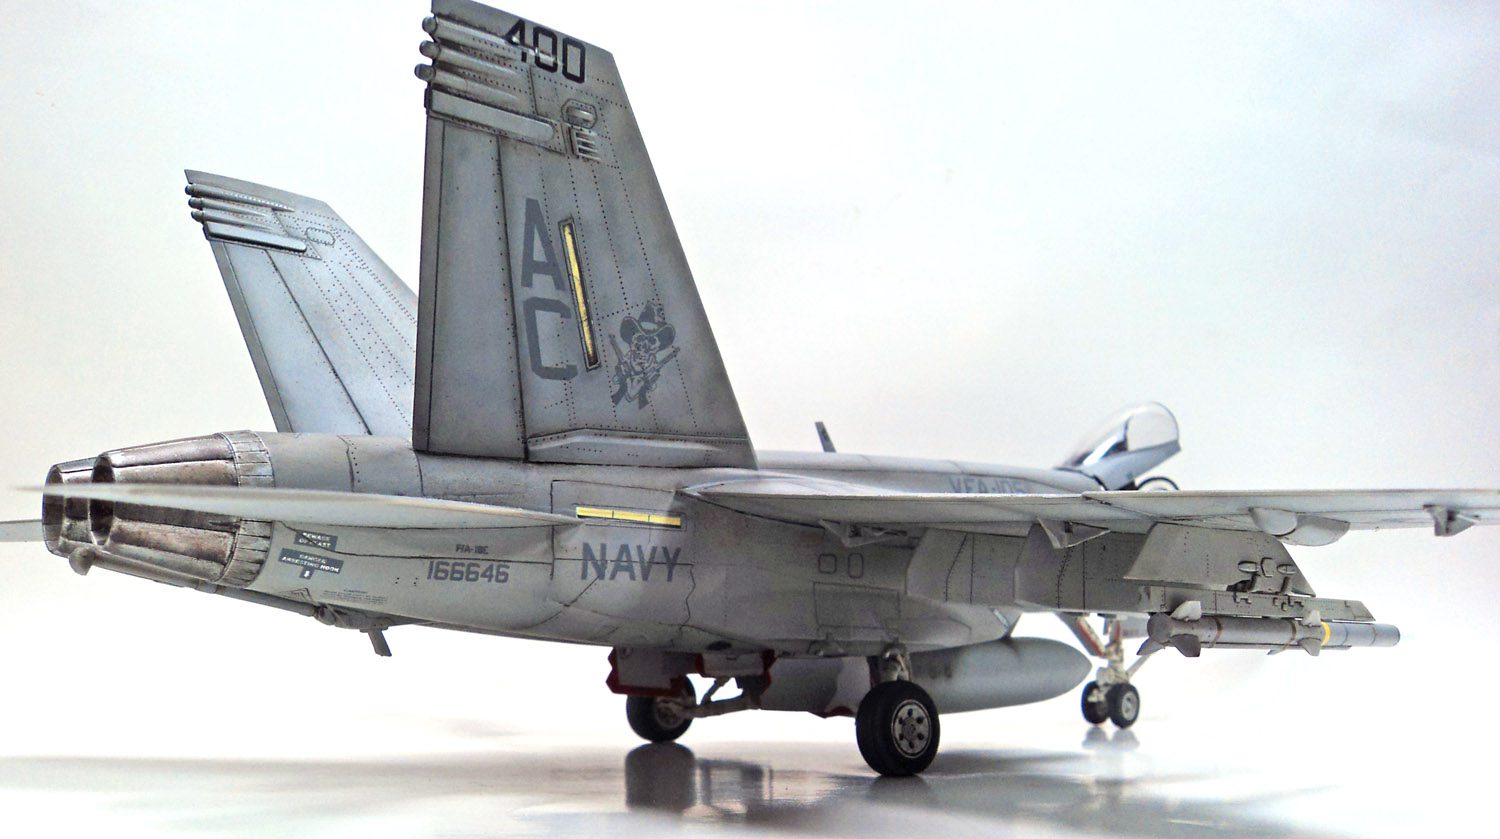
With the airframe assembled, I painted it, using a combination of Tamiya XF-80 for the lowers, and XF-19 for the uppers. A variety of fading, shading, and panel line techniques were employed, including airbrushing, artists oils, mechanical pencils, and enamel washes.
After looking over the kit decals, I decided to go with and aftermarket set. The kit decals are not the best quality in terms of printing. They have an almost “dot matrix” look when viewed closely. Of course, they could certainly be used. They performed well when applied. (I used a few of the stencils.) Still, I wanted an operational, low visibility look to it, so I went with a Super Scale decal set. (To be sure, they weren’t much better than the kit decals in terms of printing quality.)
Getting on the final fiddly bit wasn’t too difficult, though this is an area of most builds I become my own worst enemy. But it all fits well. I do think the wingtip mounted Sidewinders are a bit poor looking, and if you really notice things like that, others from your spares box (or aftermarket) may be in order.
Still… $14. Keep that in mind.
Overall, this is a good kit I can commend to any skill level of builder including young builders. More advanced modelers may want to address the decals, seat, and wingtip missiles a bit, but a good result can be had straight from the box.
When it’s all weighed out, I think this is probably the best fun to price ratio I’ve ever found in a kit!



Leave a Reply